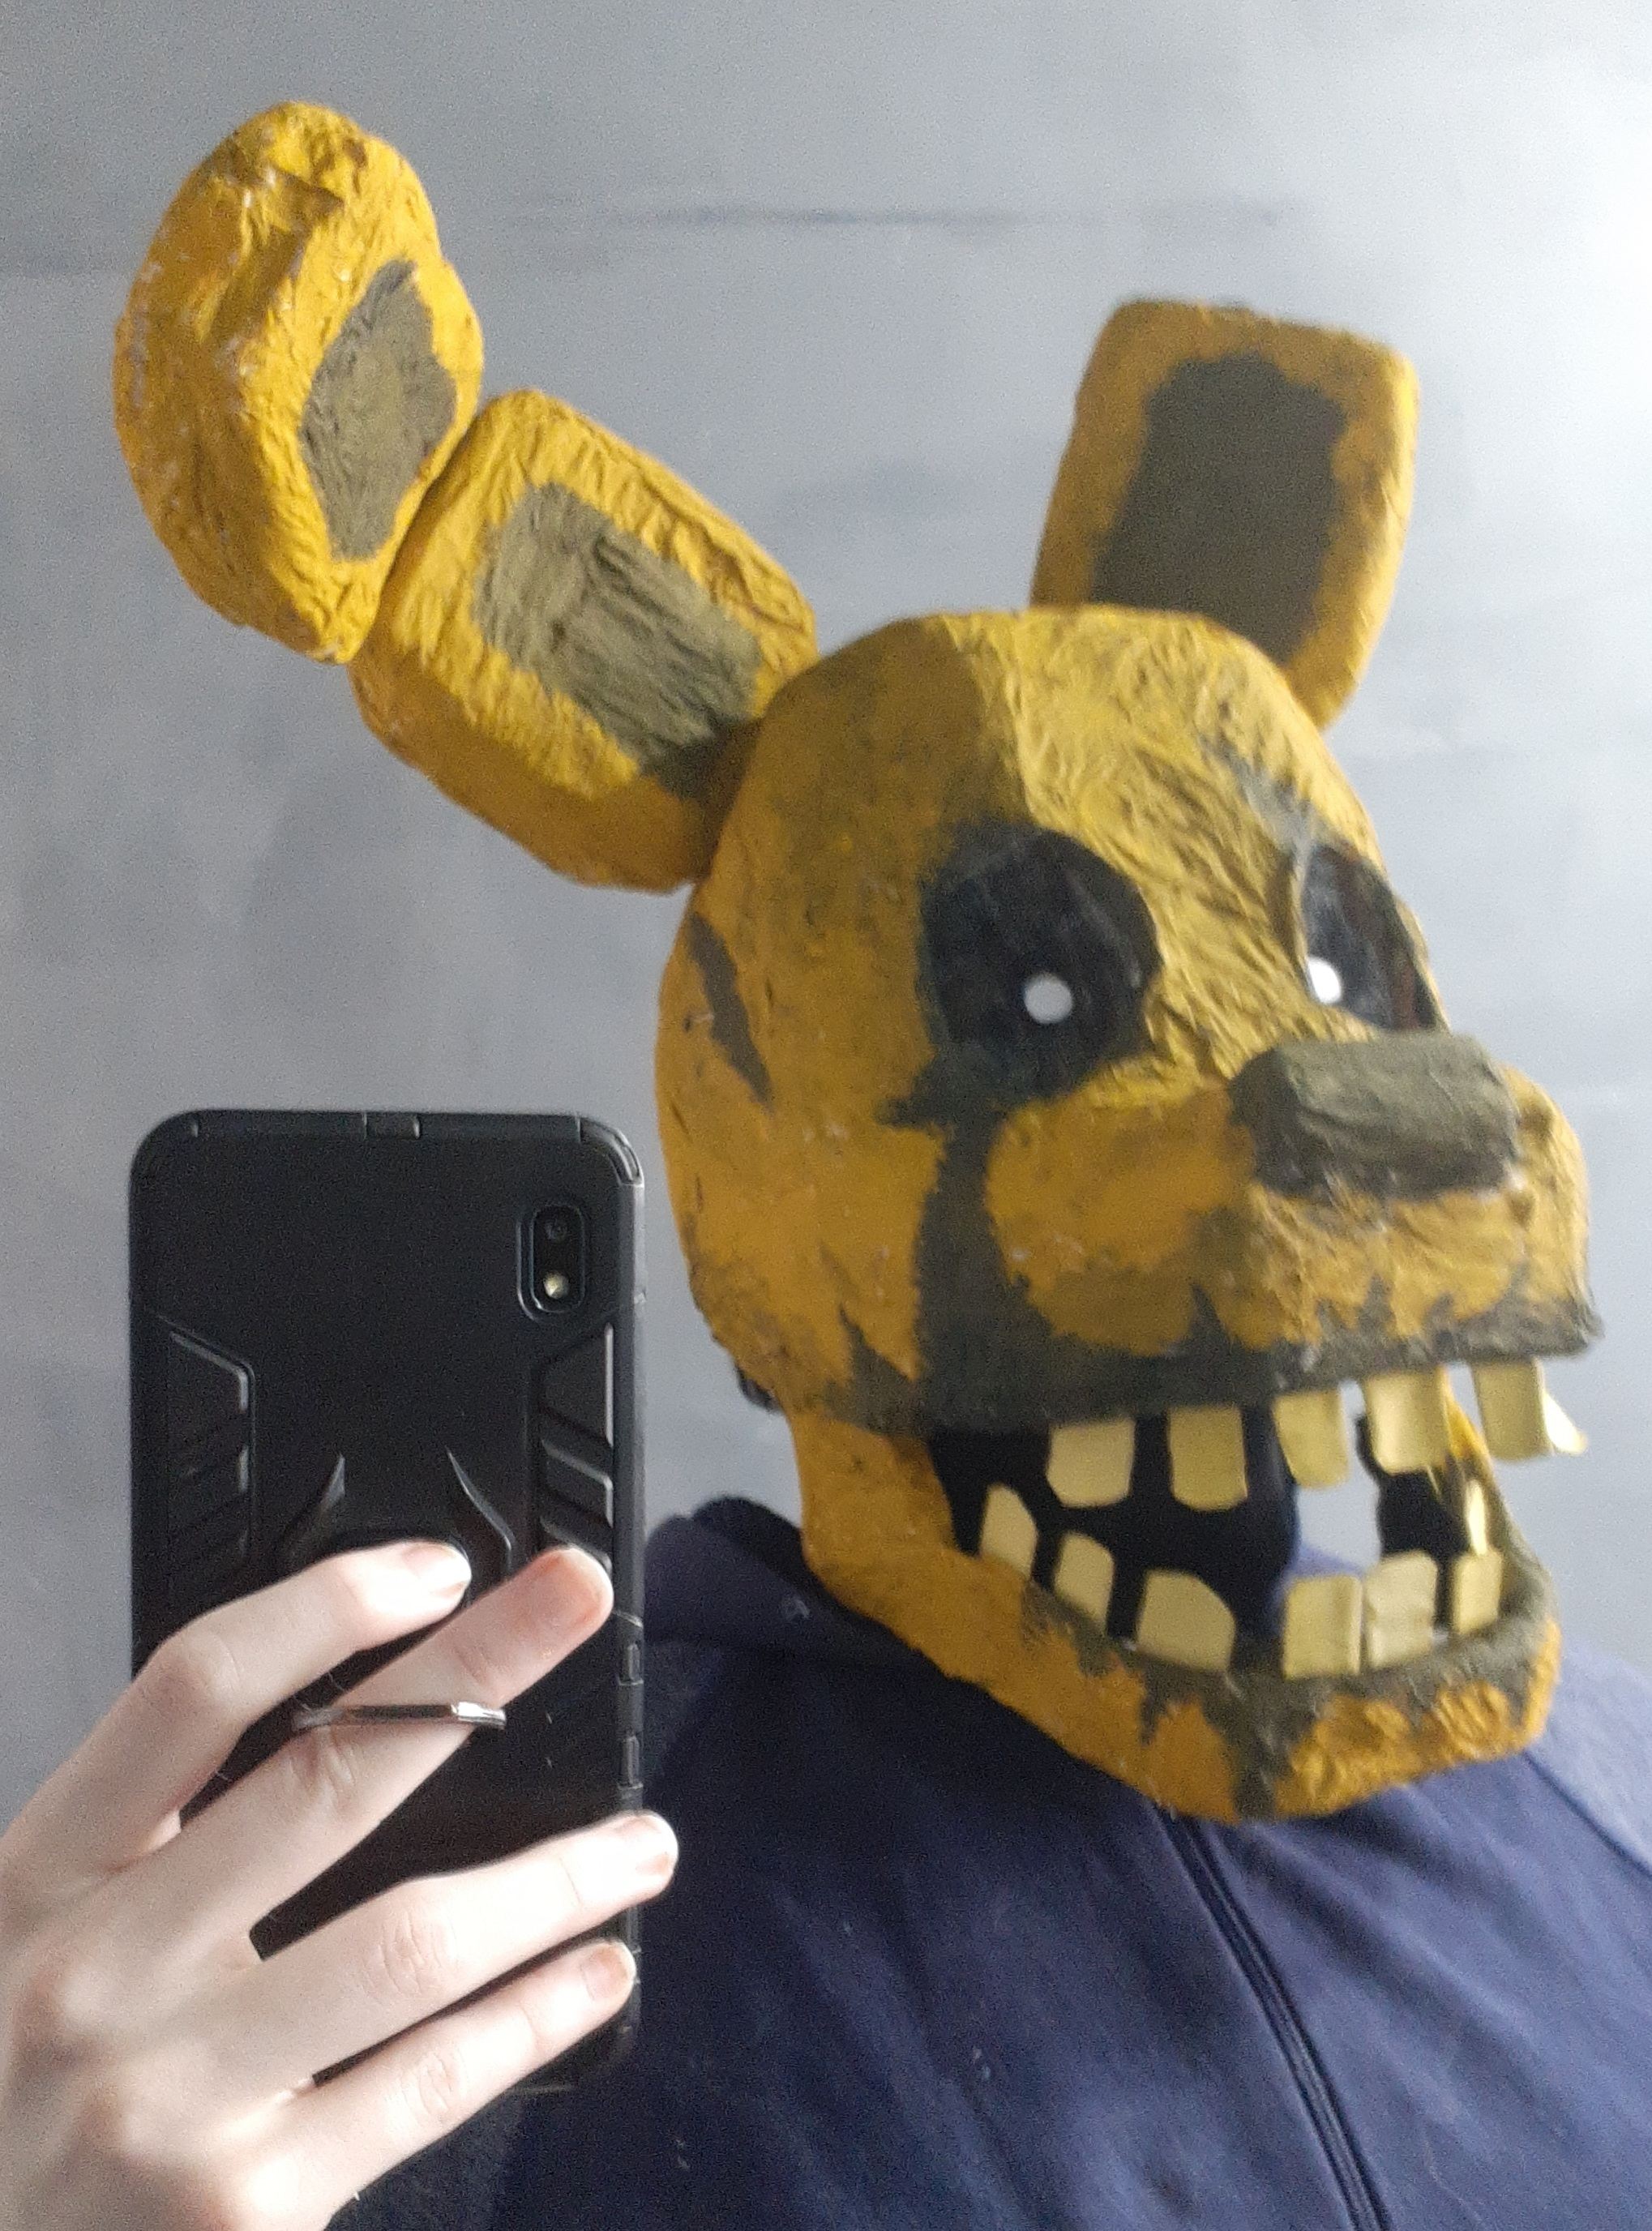
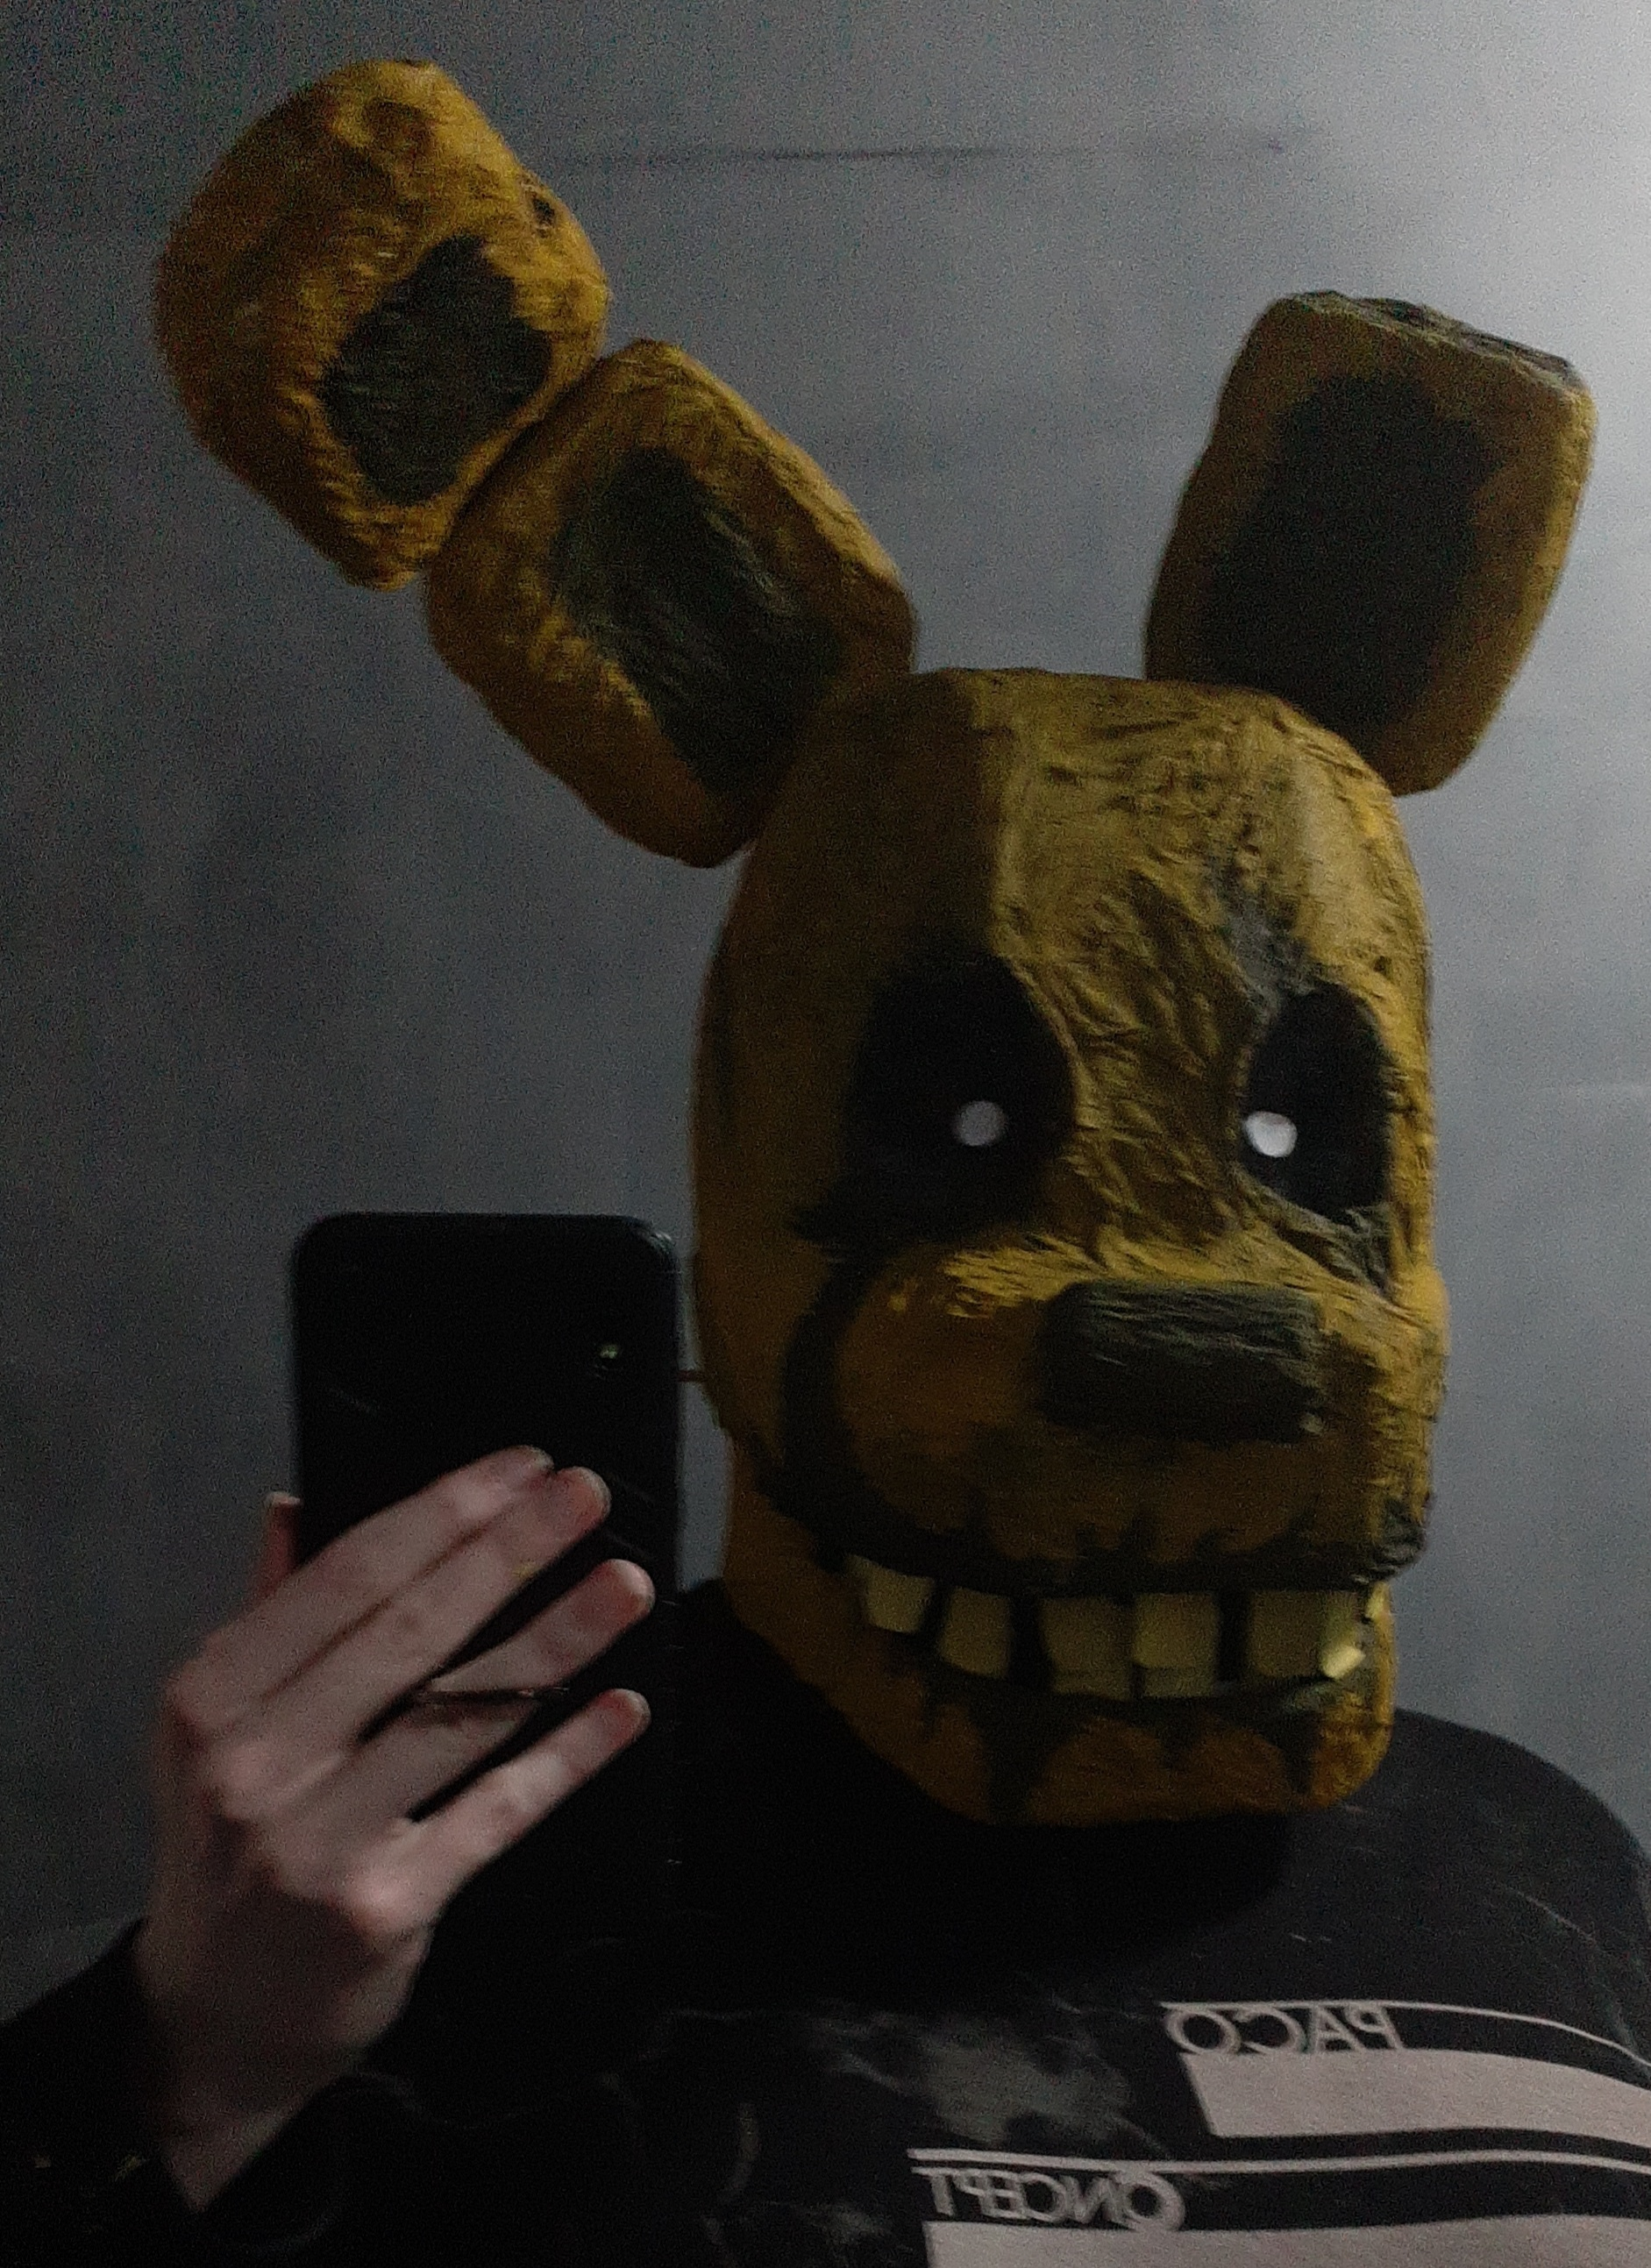
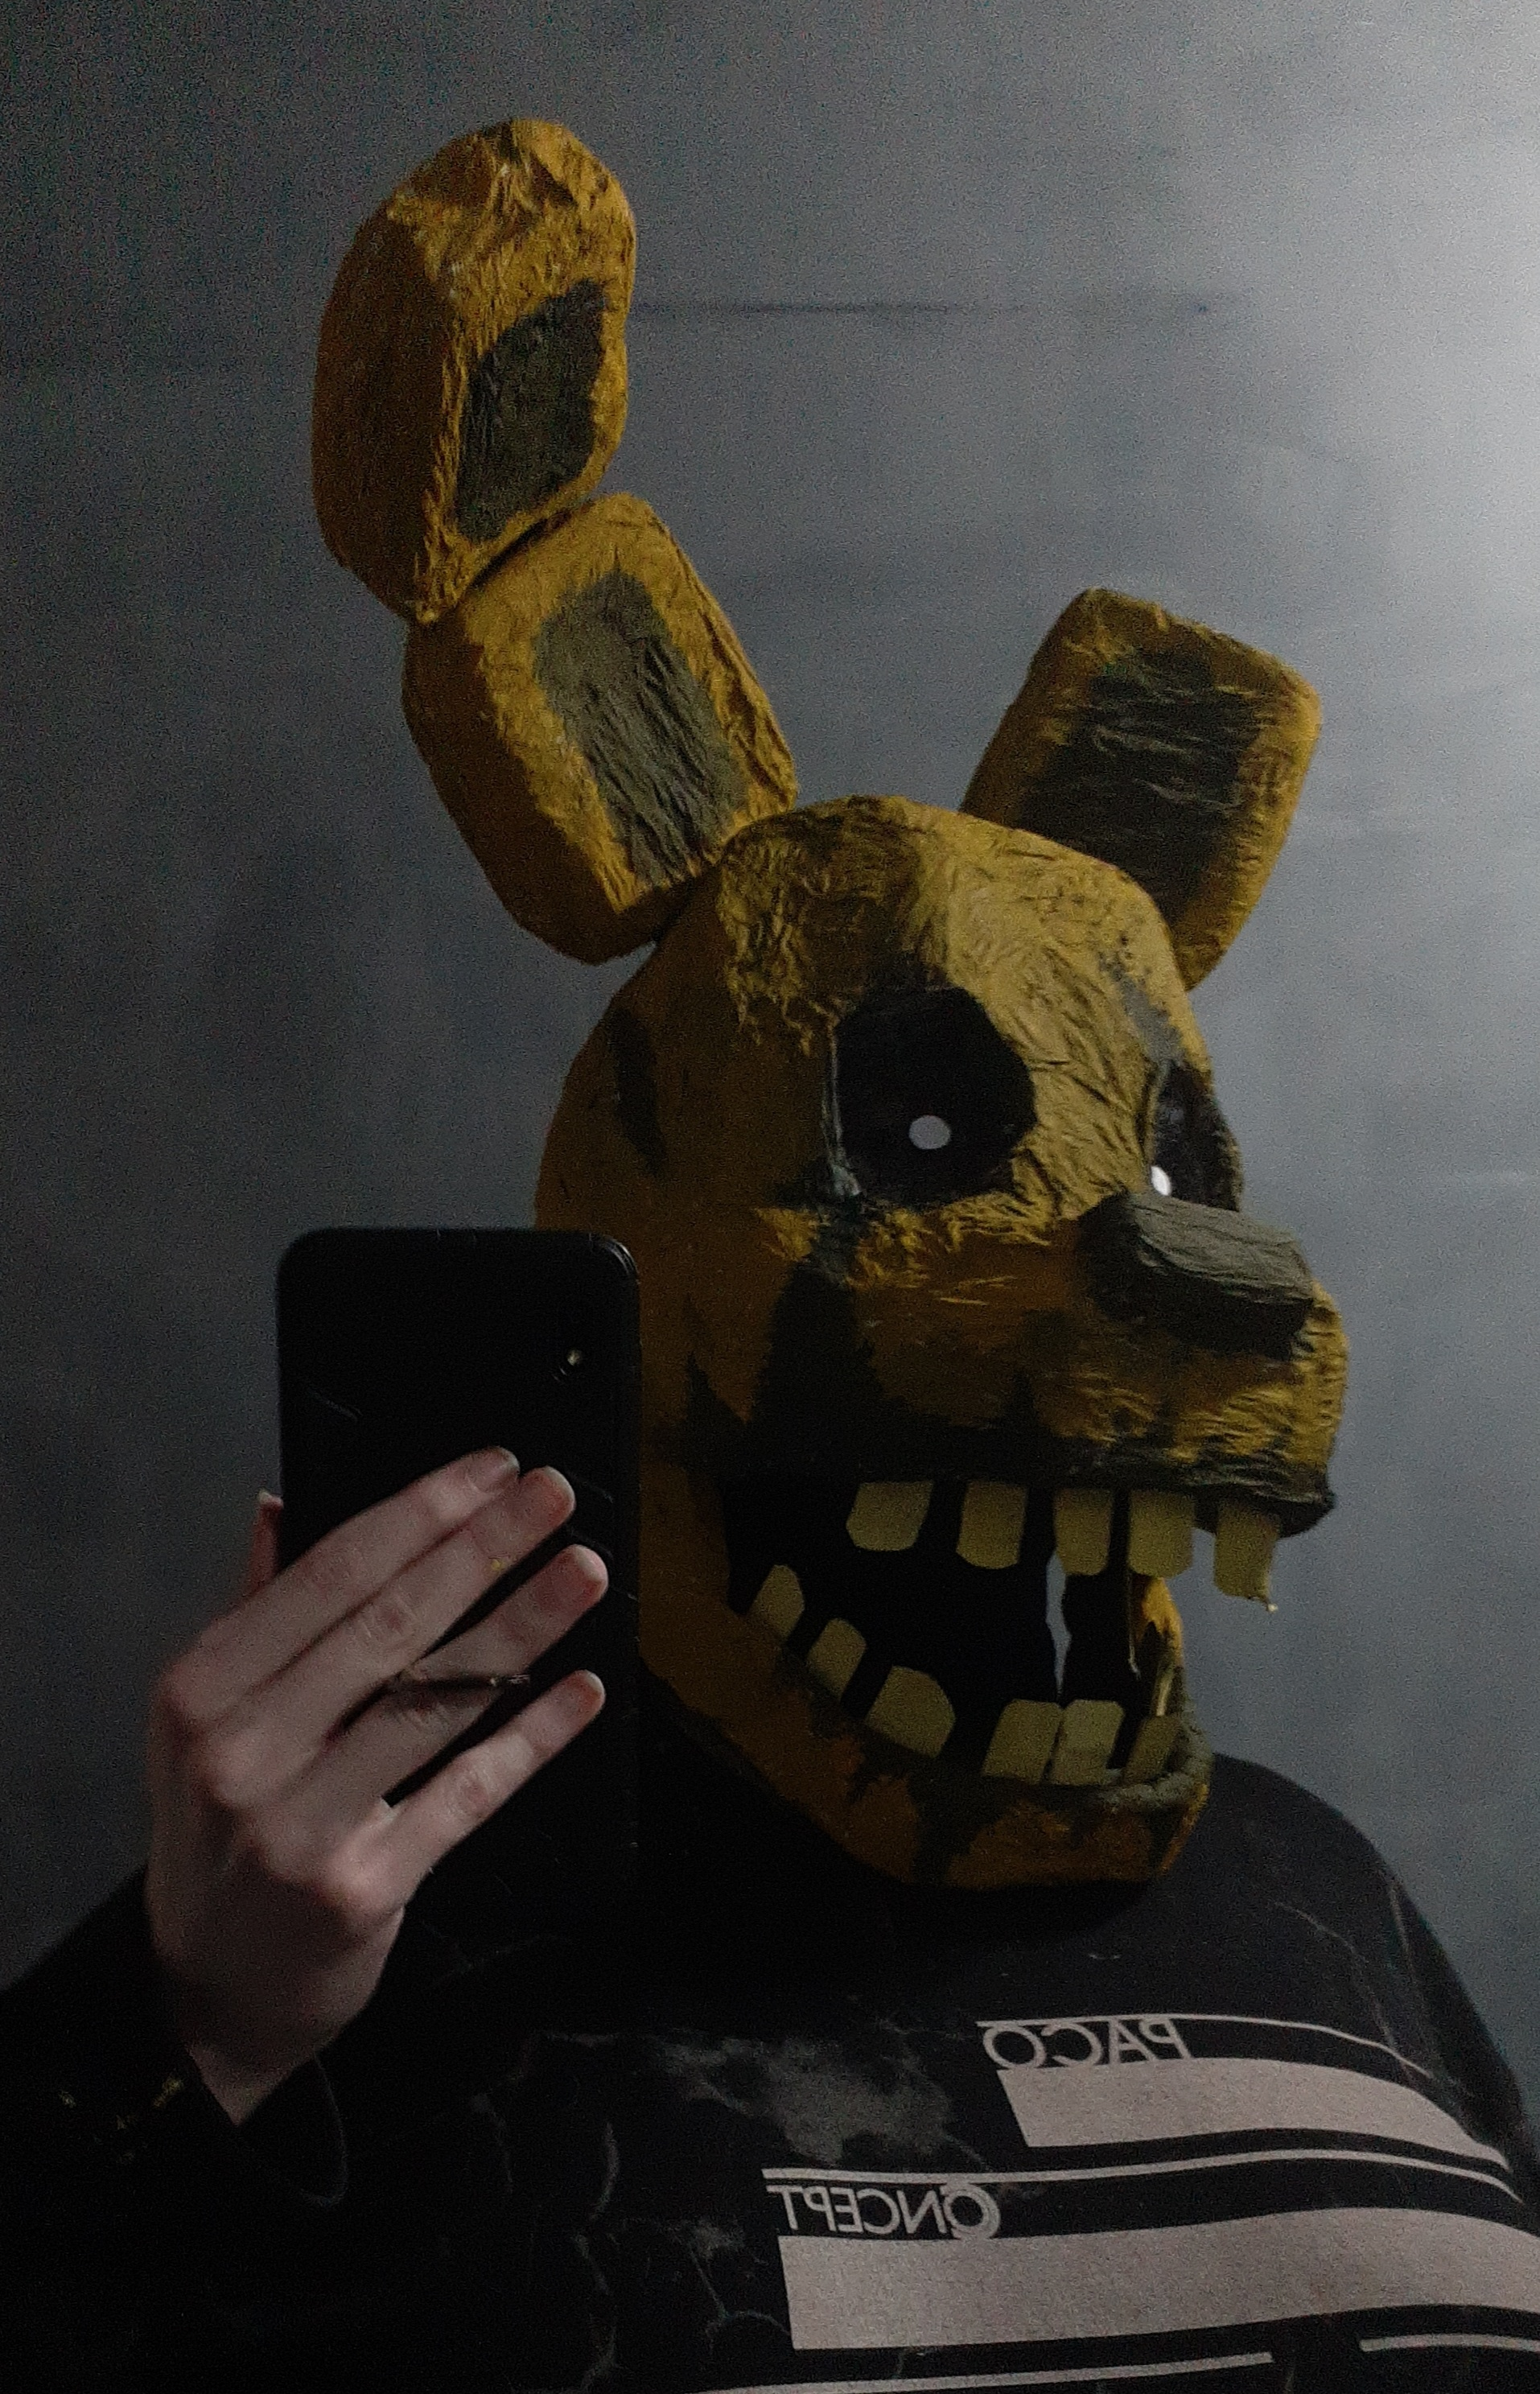
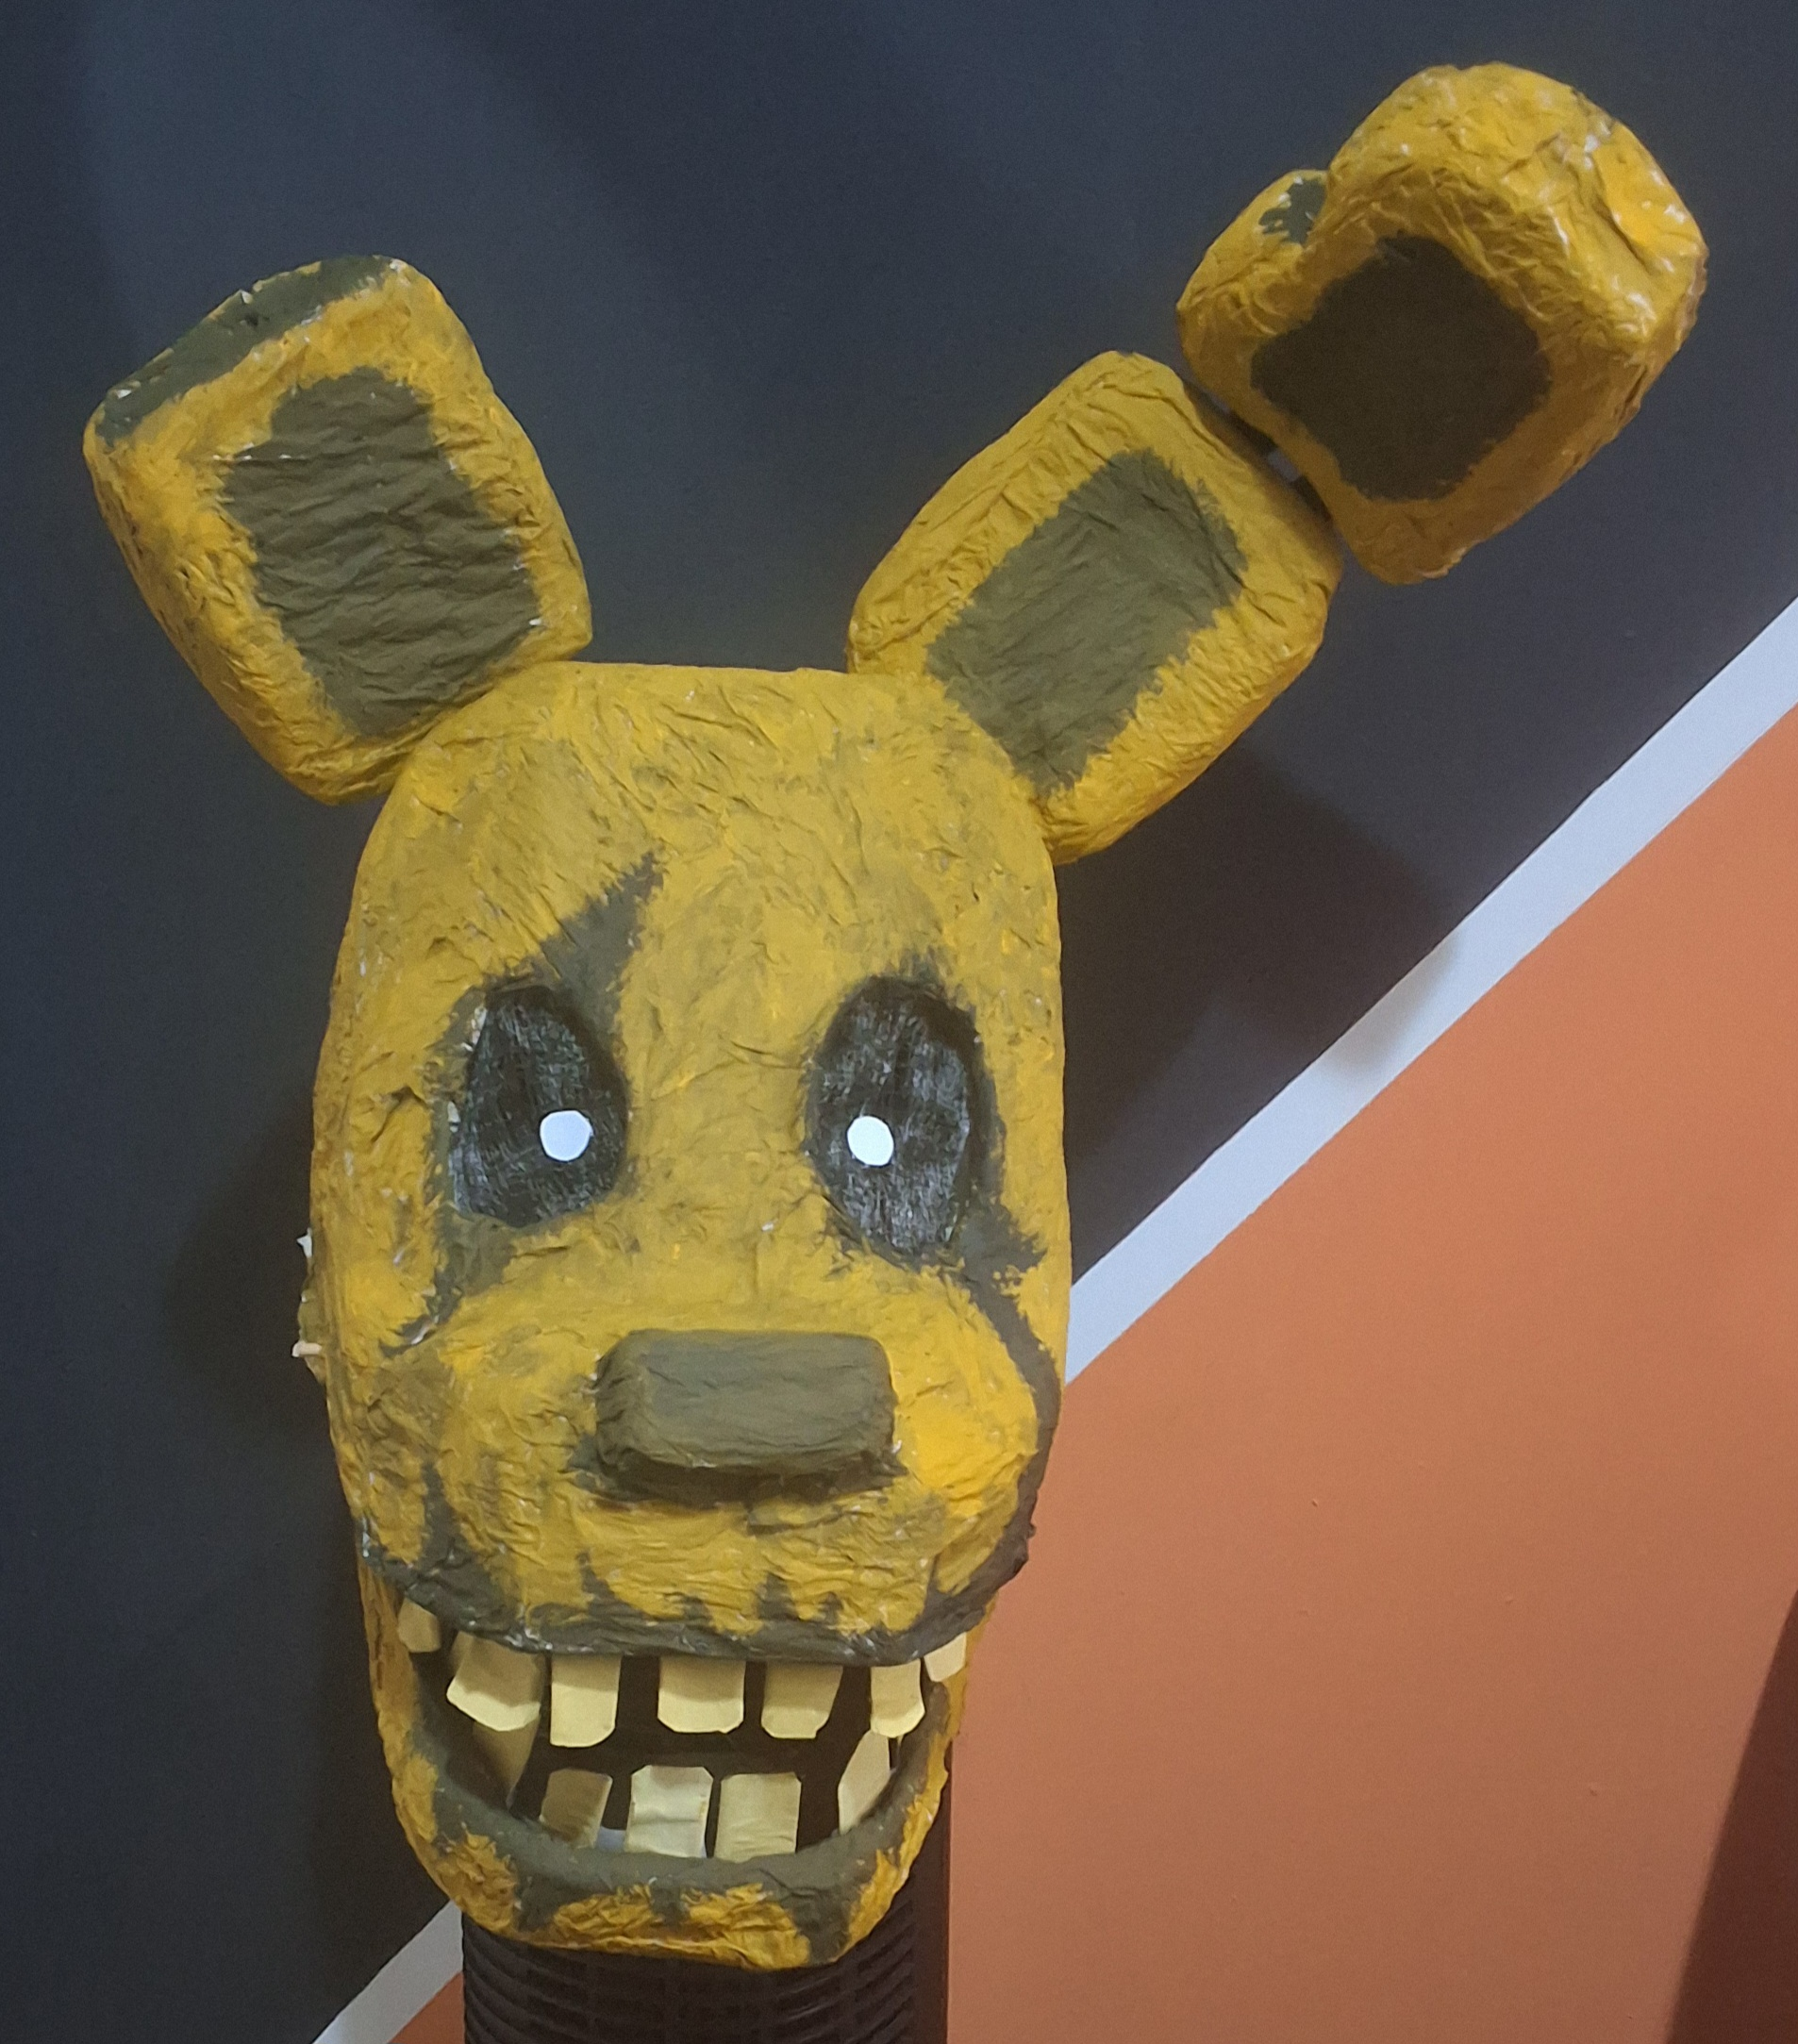
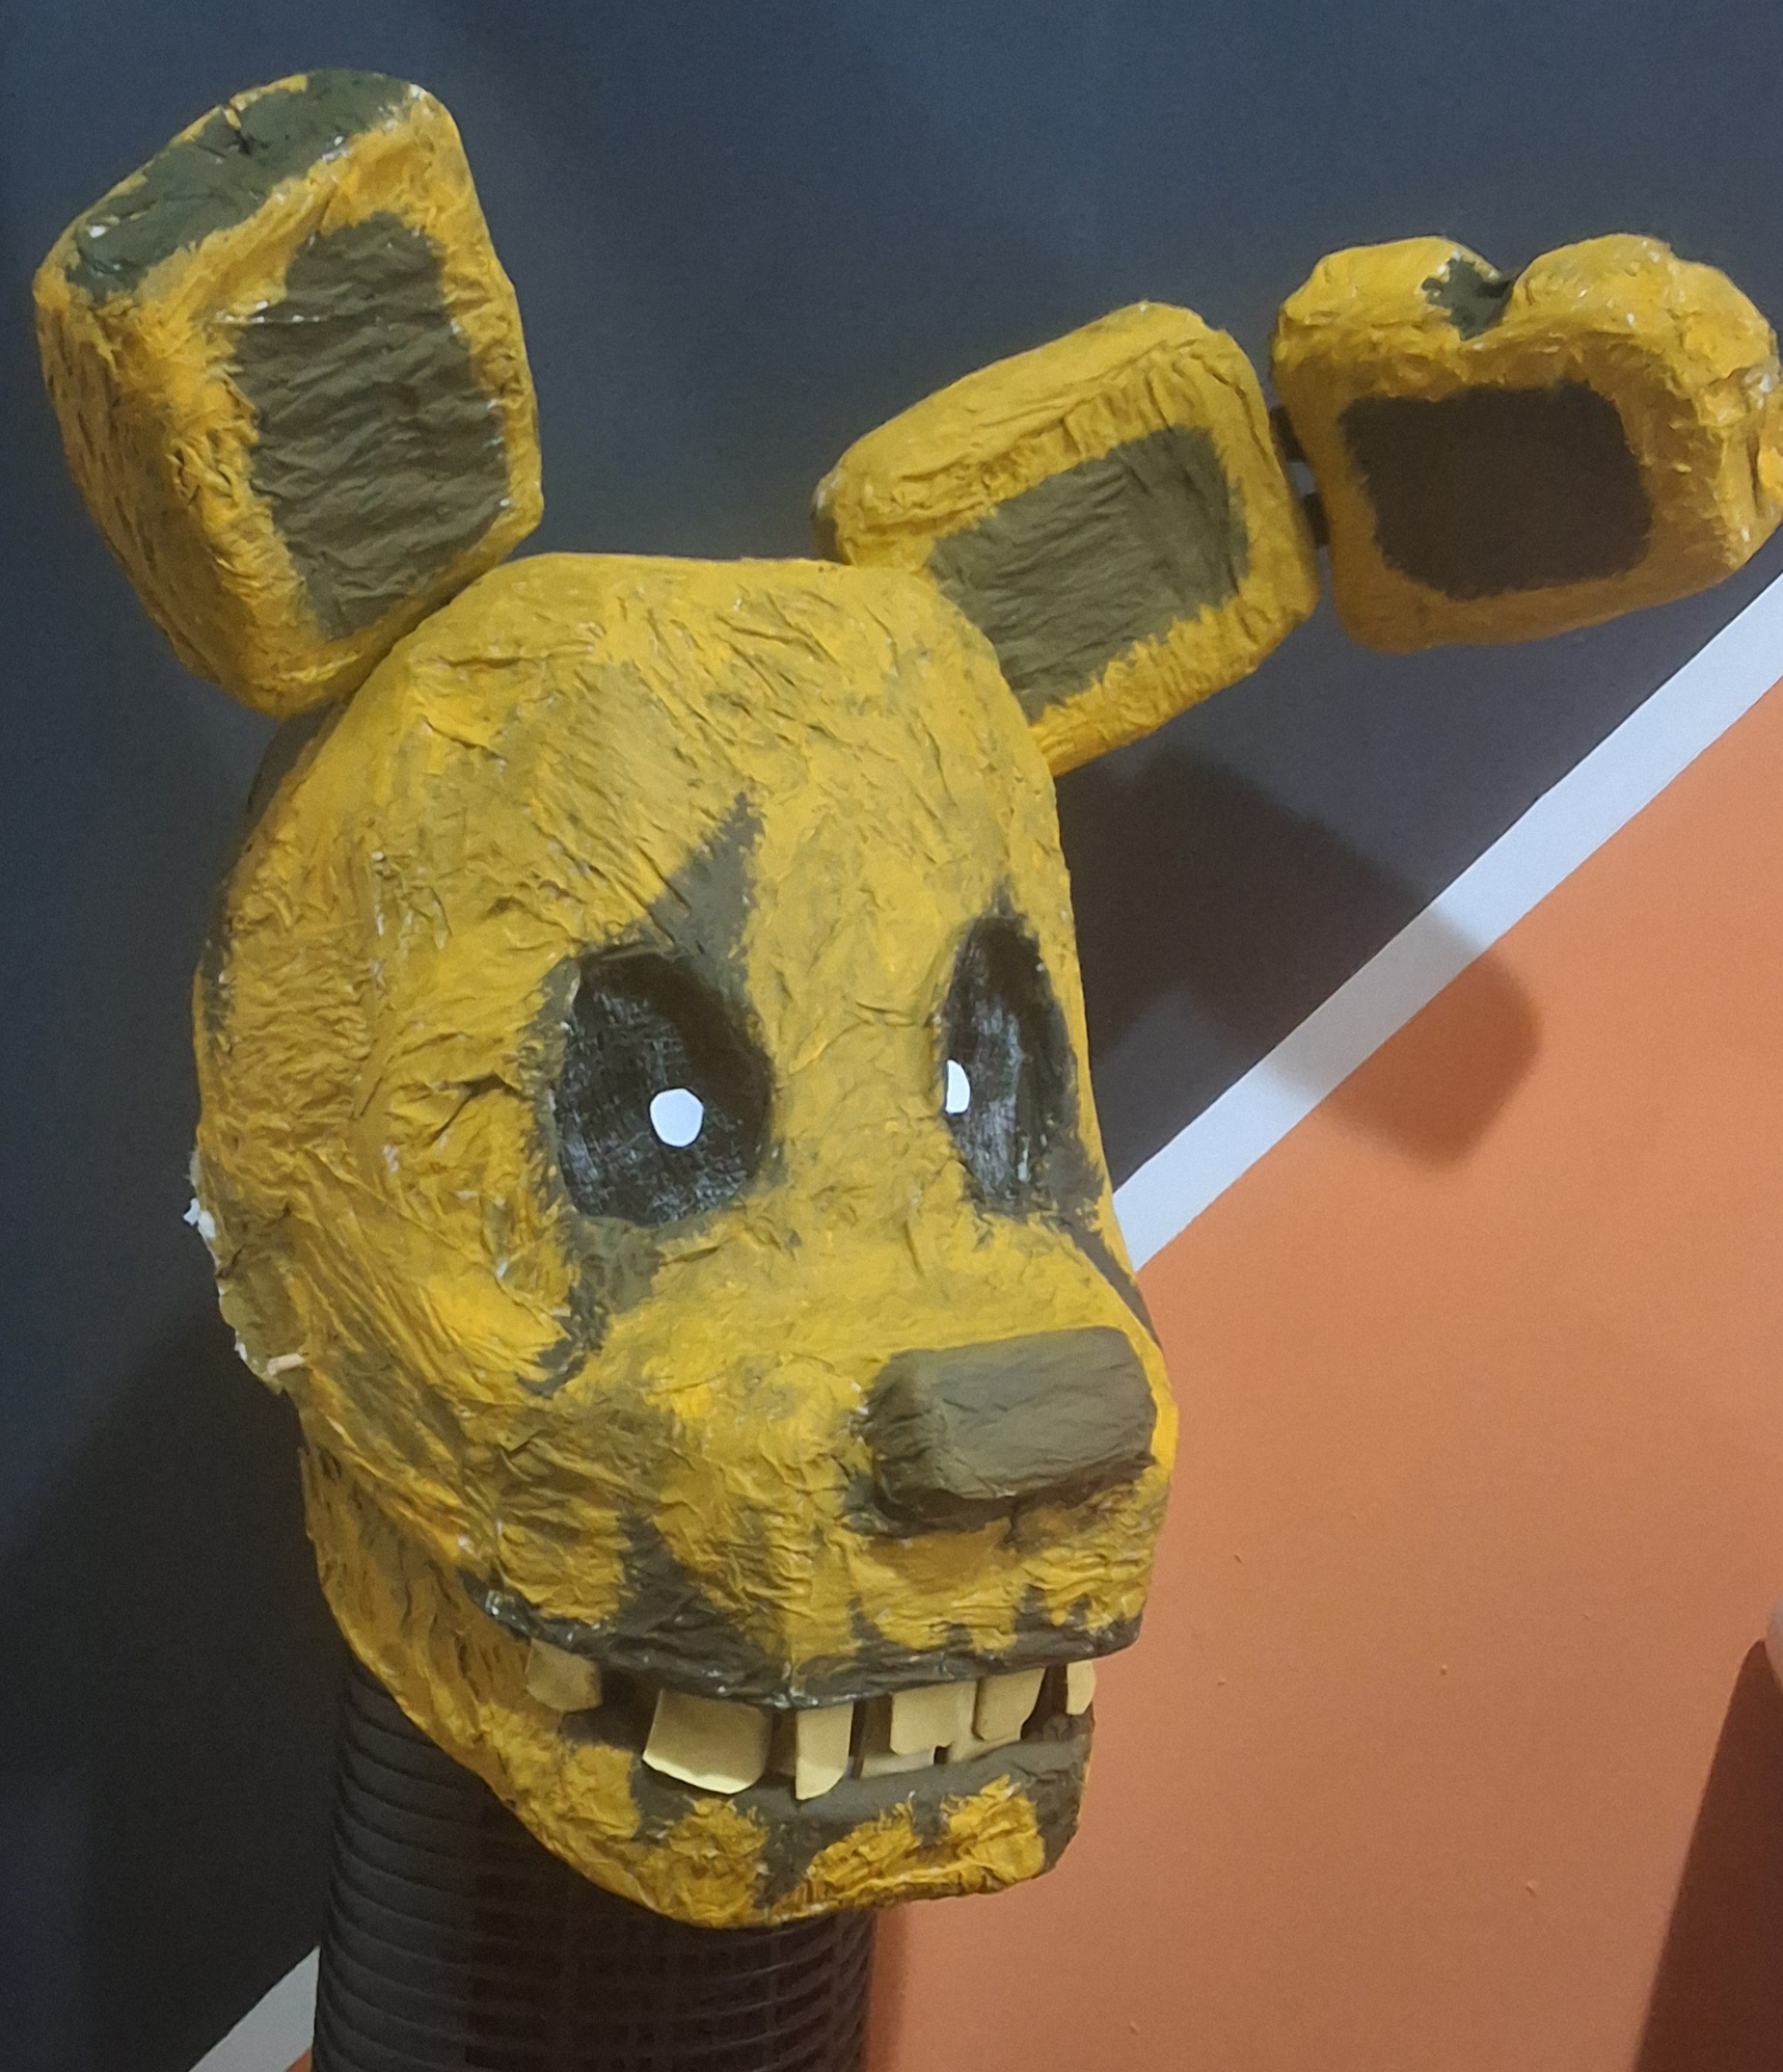
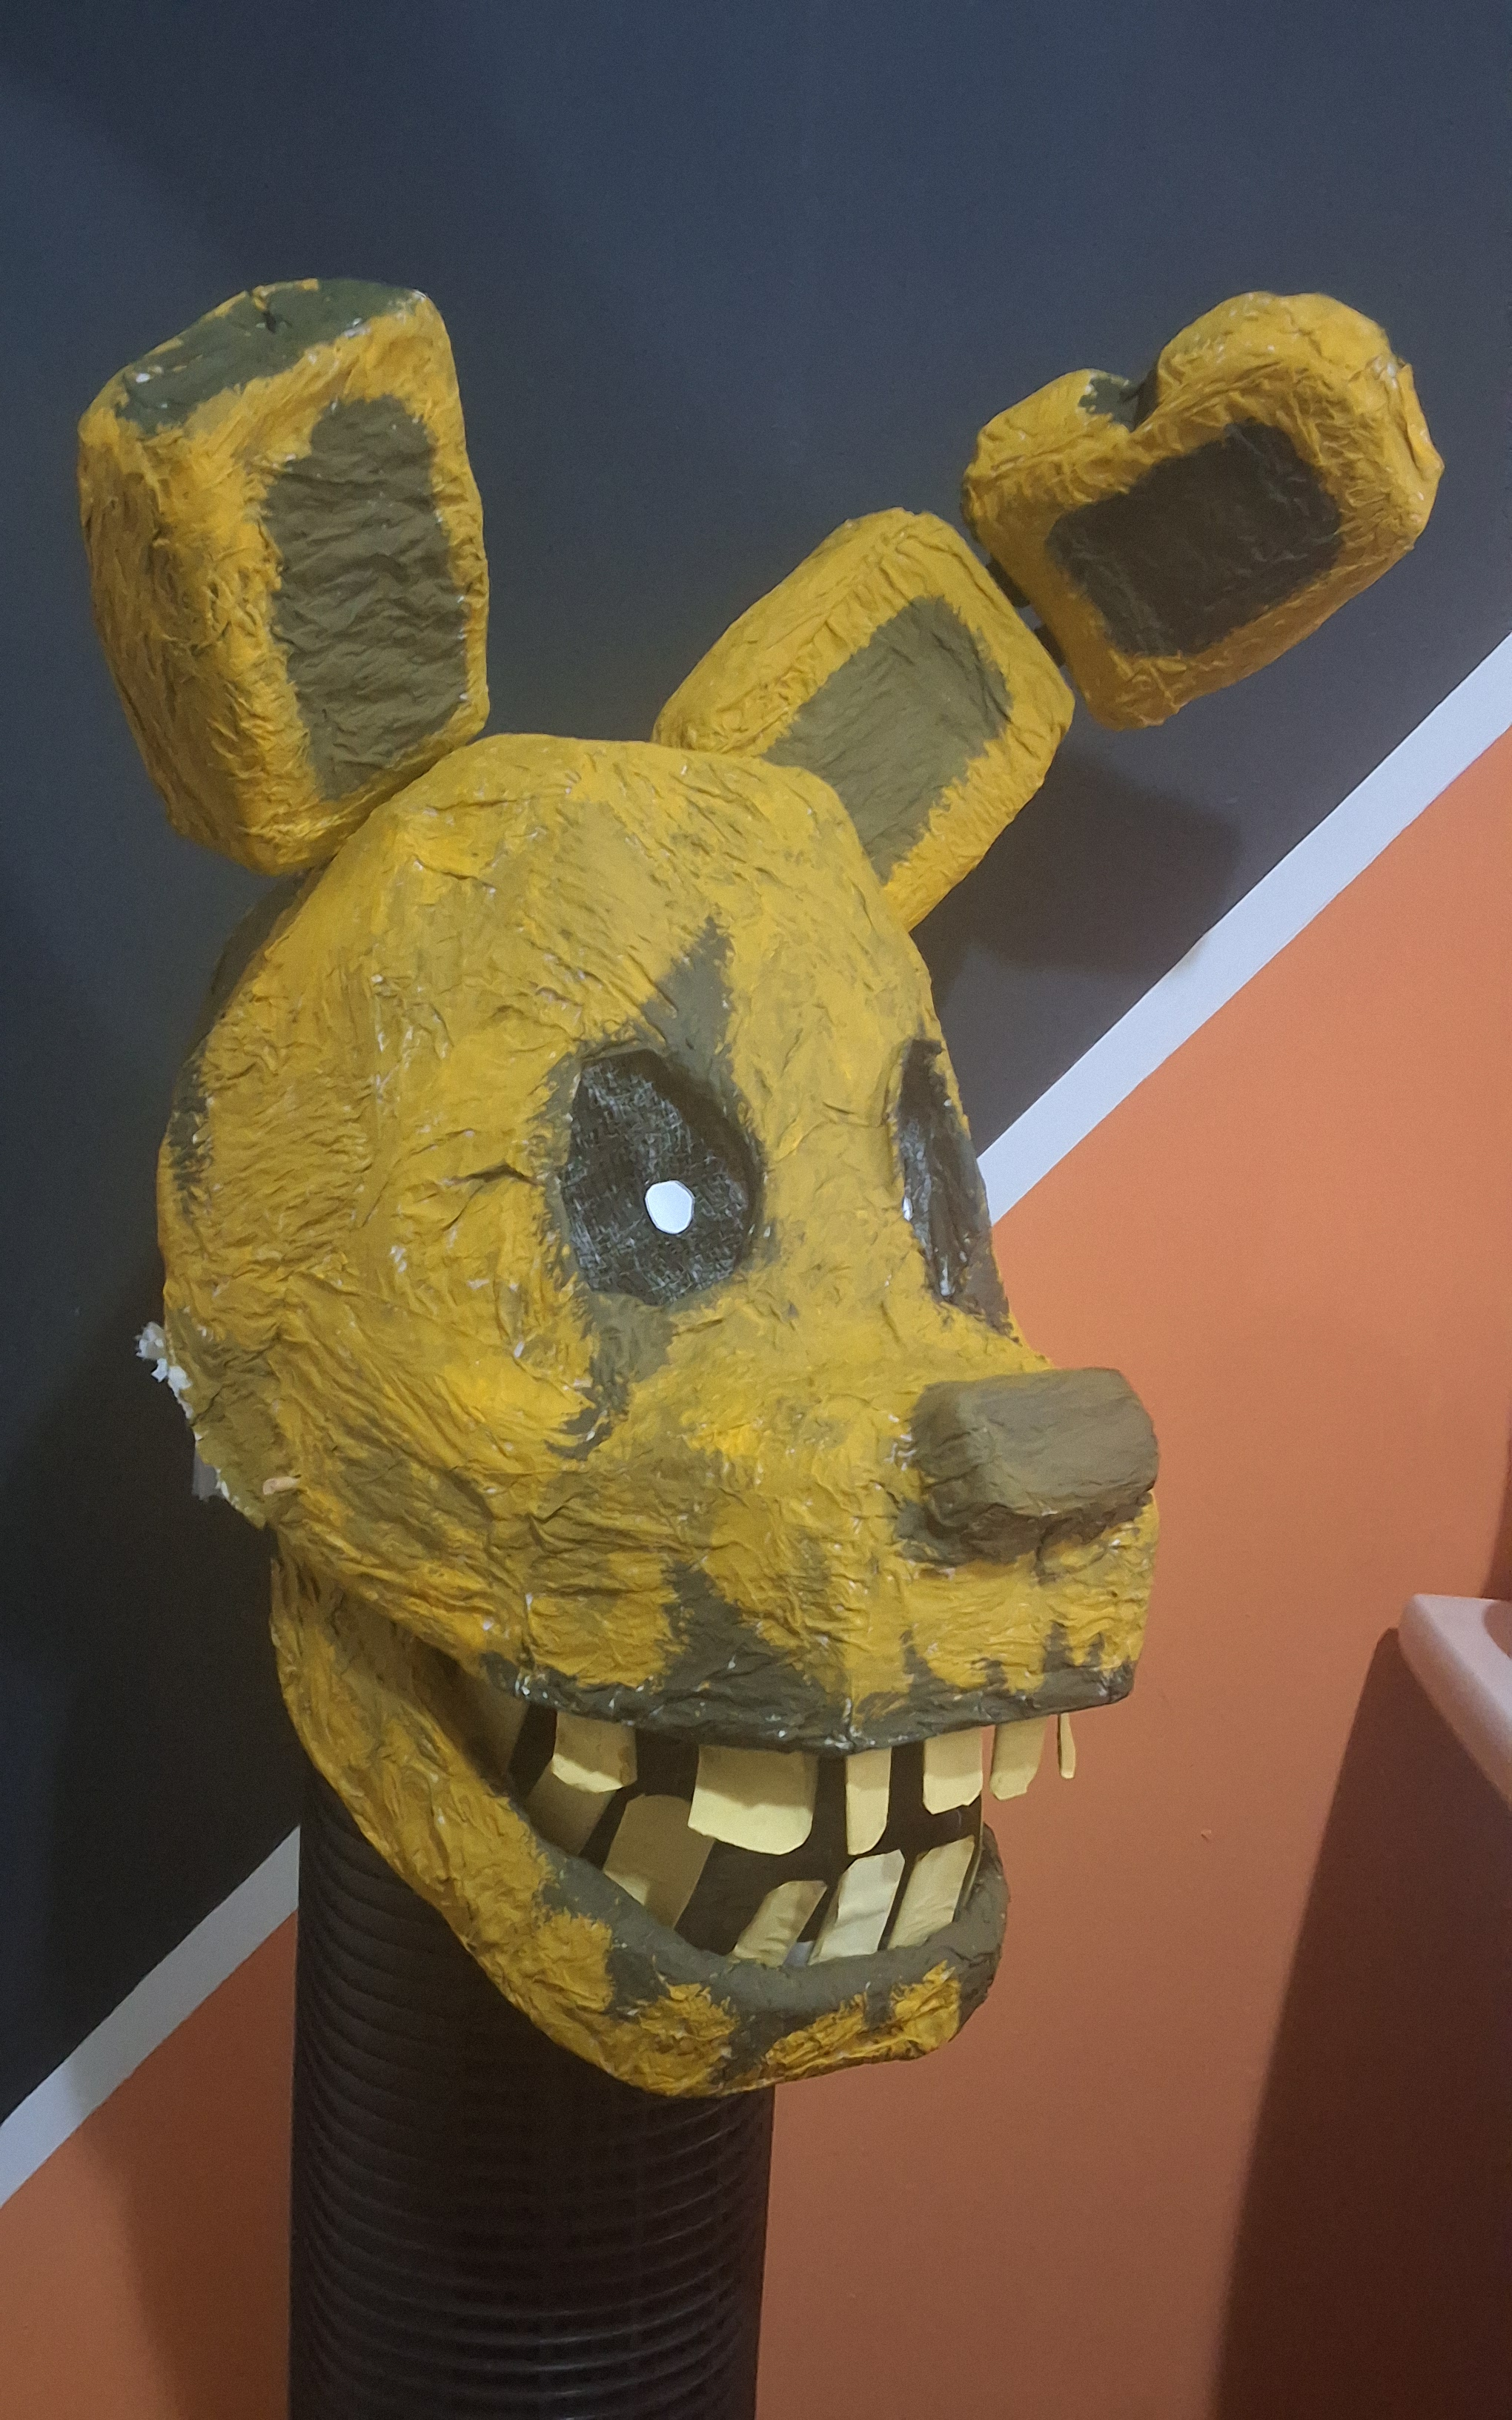
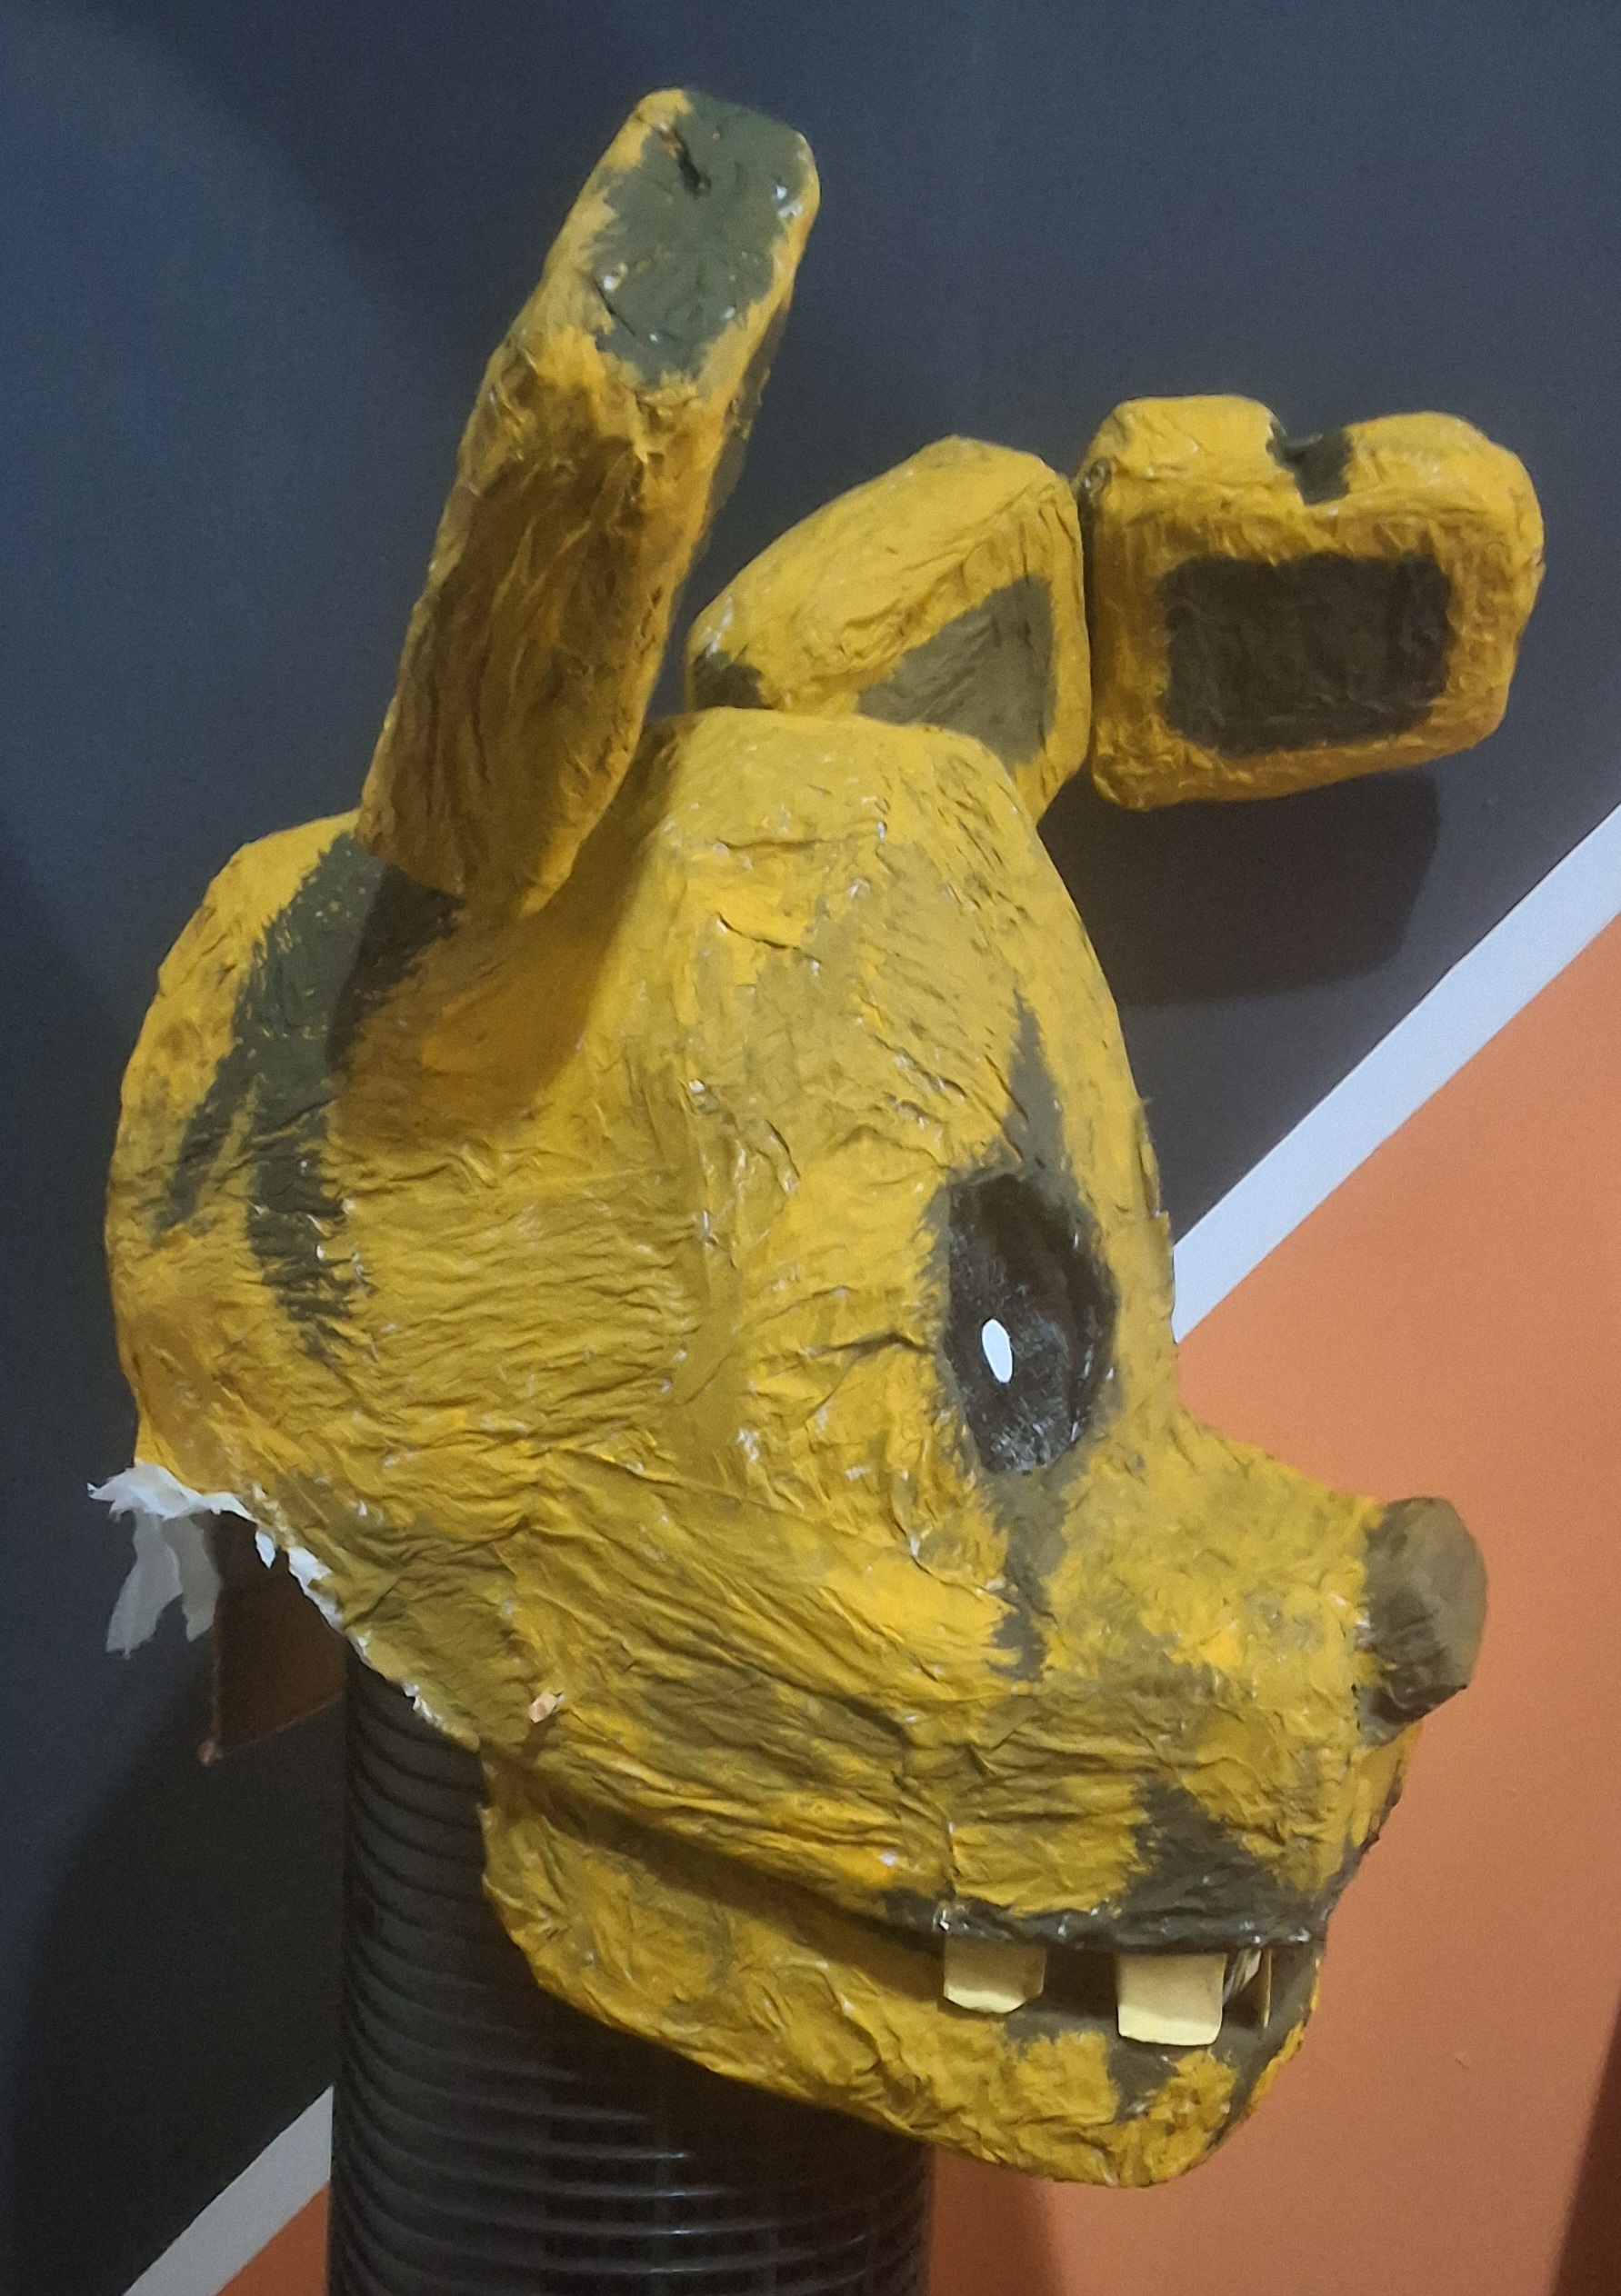
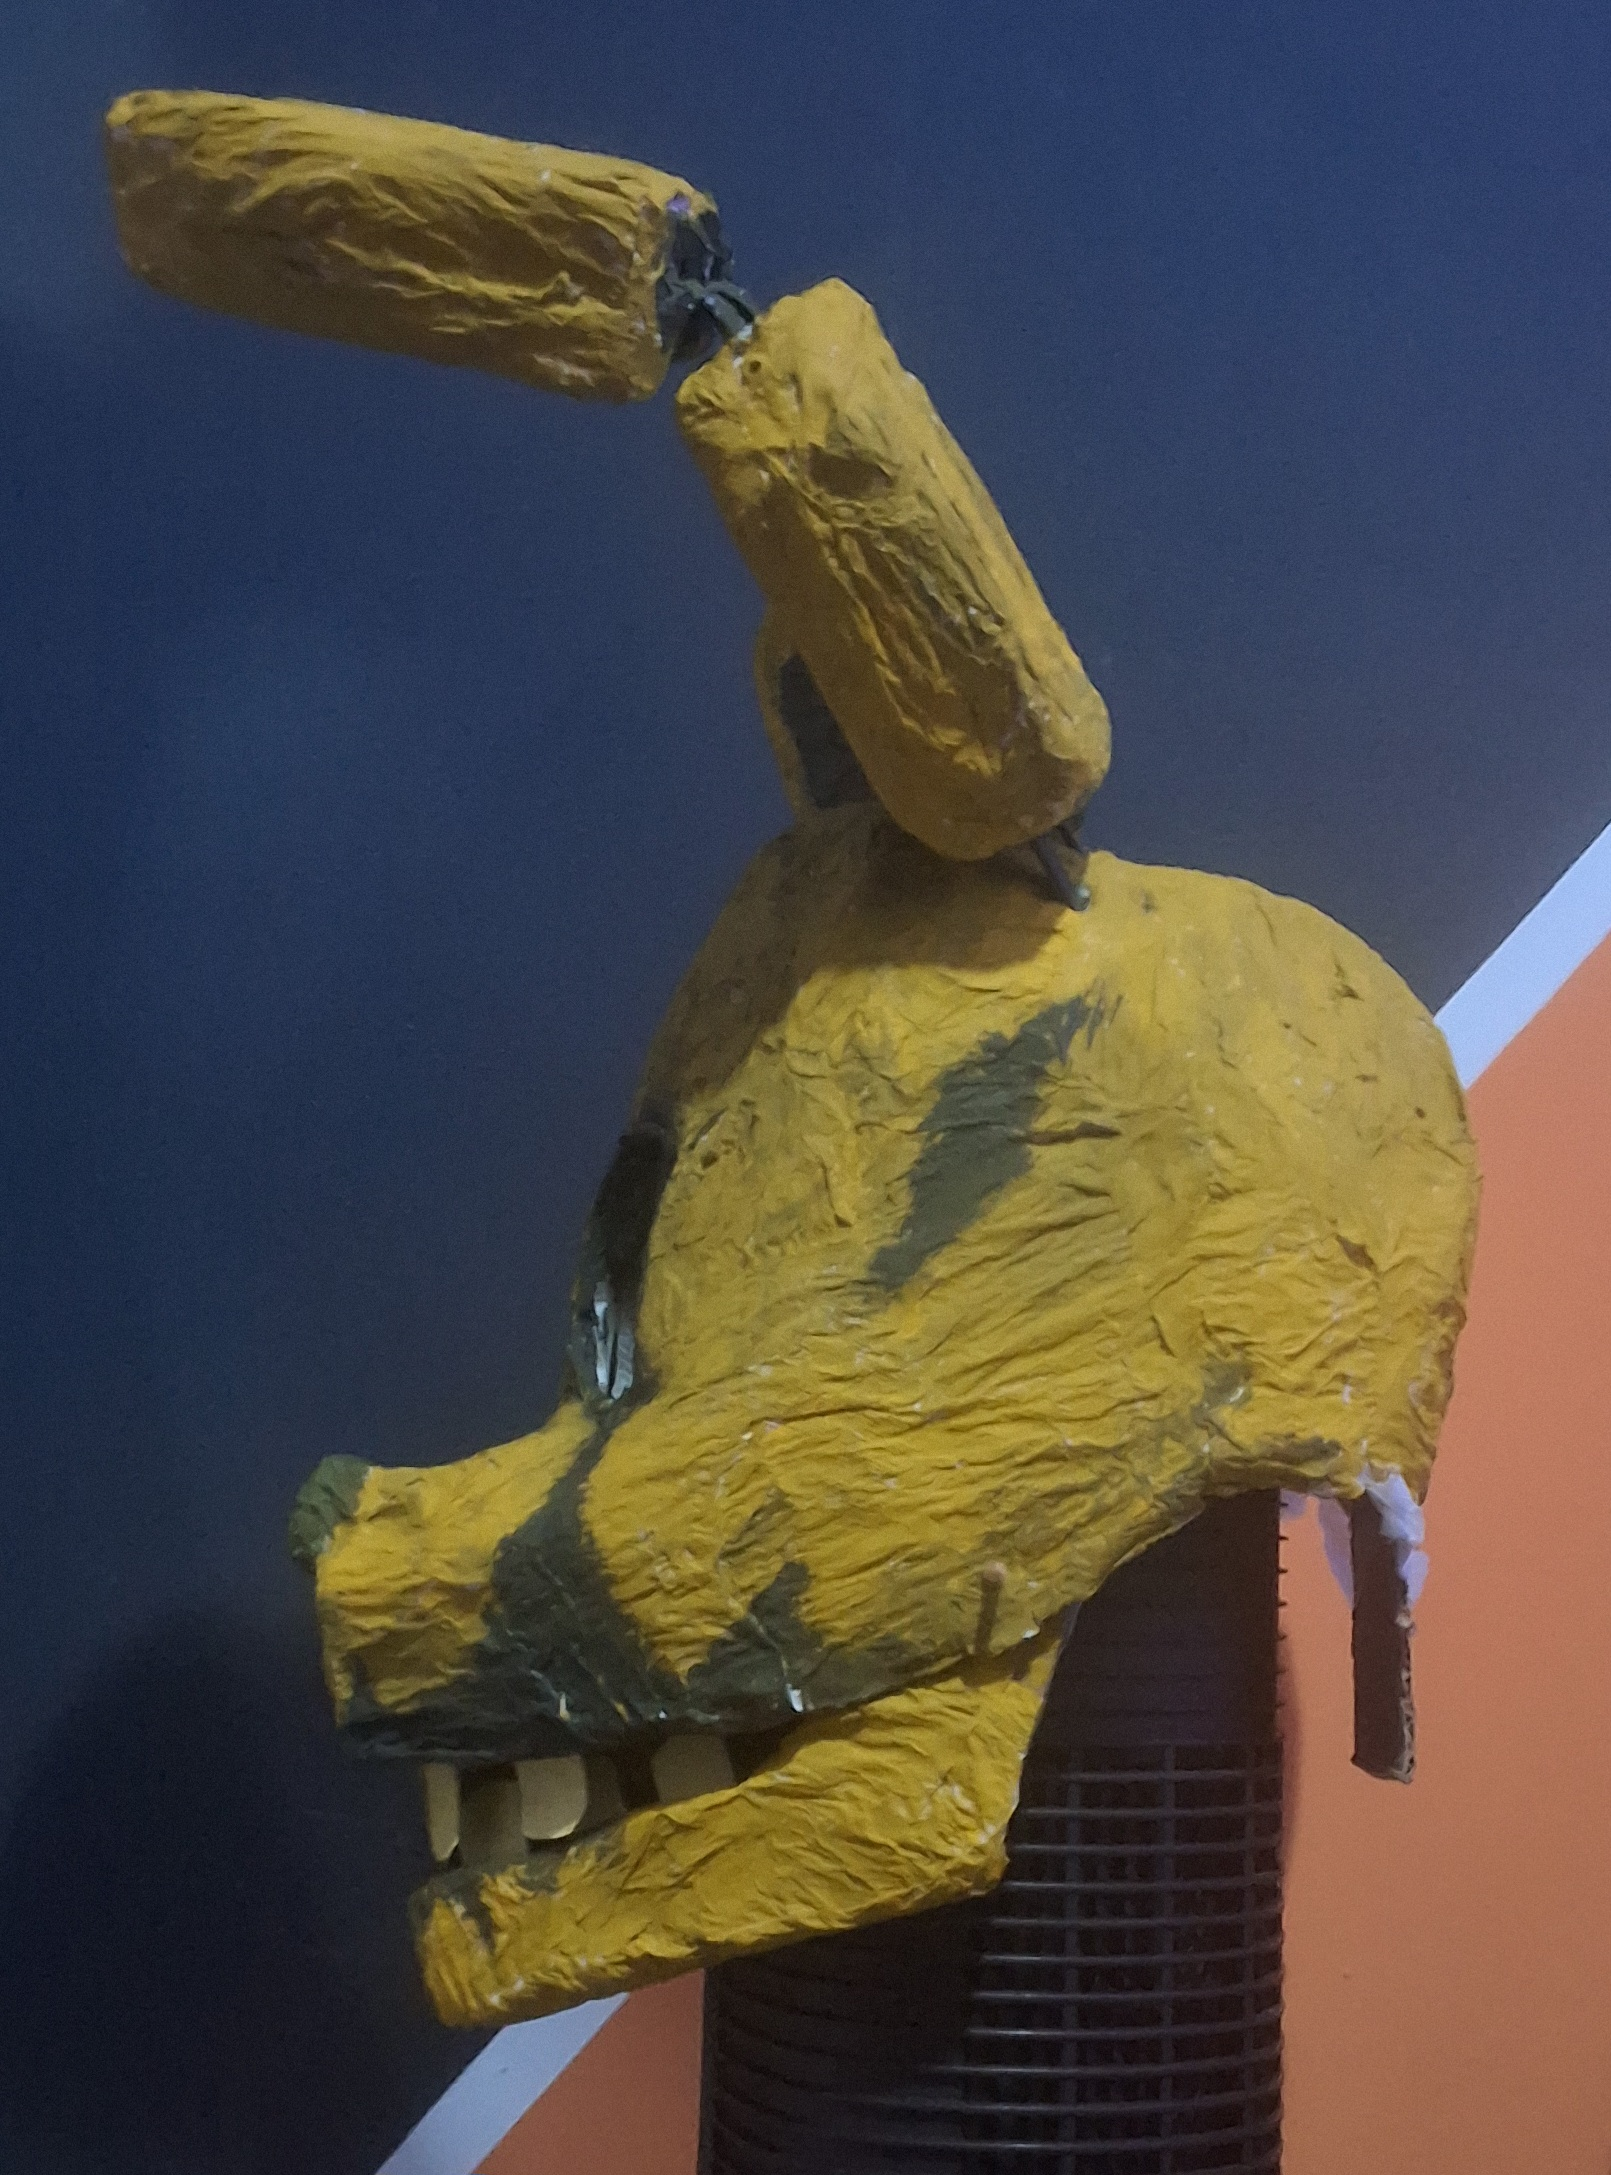
Springtrap mask | FNAF3
[22/oct/2025] - [25/oct/2025]
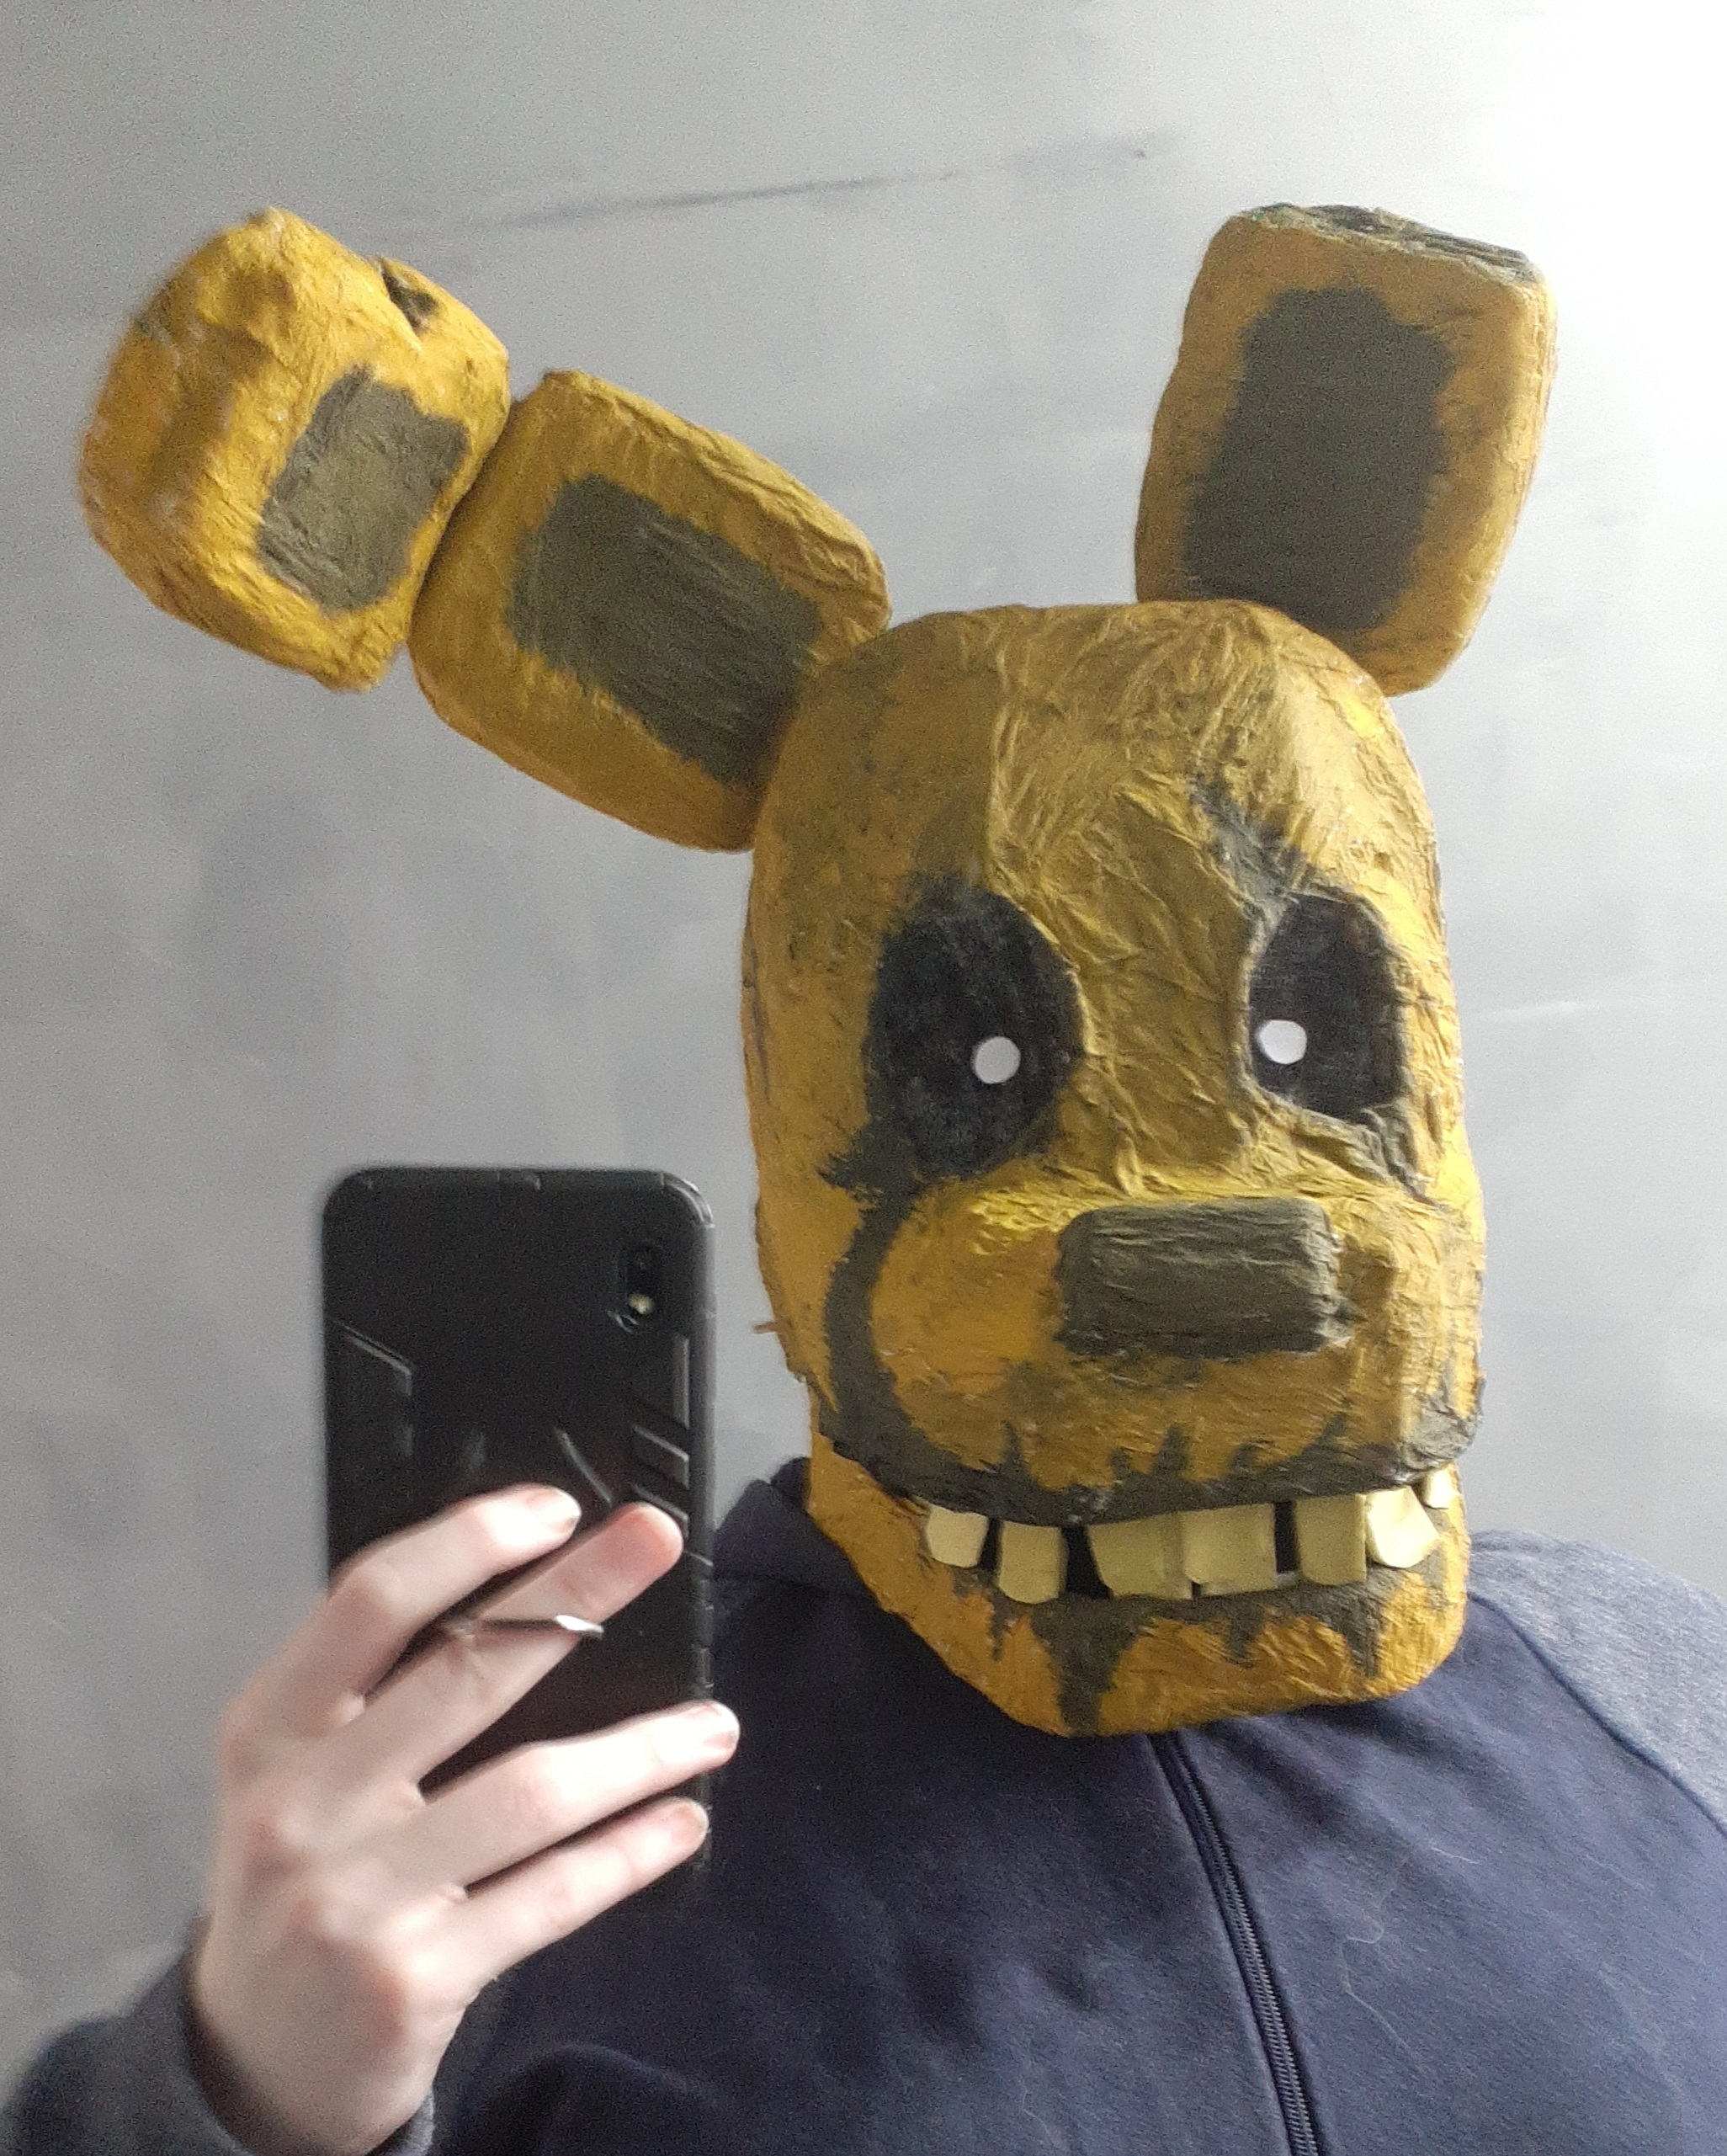
A mask made for a halloween party I was invited to! Originally meant to go with handmade gloves as well though those ended up proving to be too difficult and I didn't have much time left either way.
I pretty much worked exclusively on it for the 3 days before the party as I couldn't find any decent costumes to buy or ones that would arrive quickly enough. Yes, it did fuck up my back. But it was worth it!

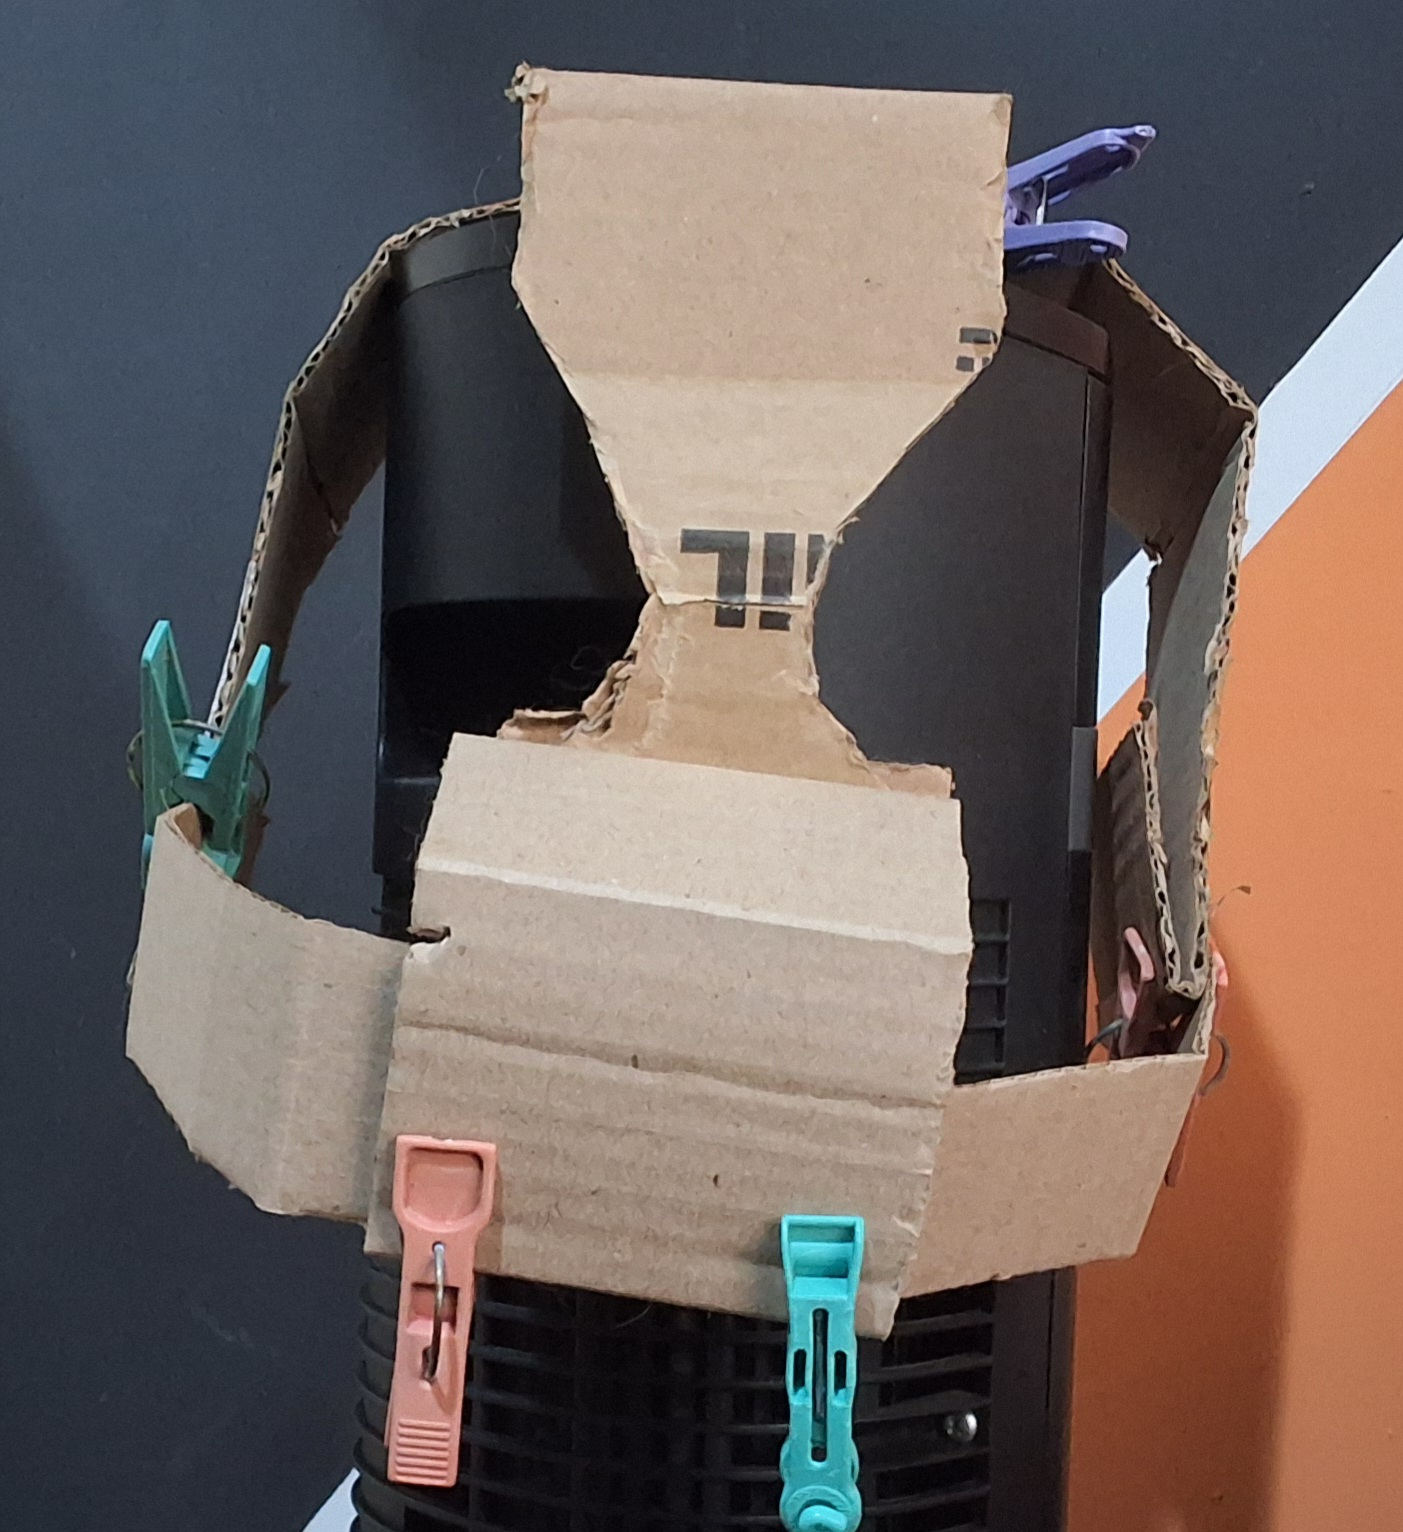
[Day 22] First, I had to get the head shape right. Clothespins were used to be able to freely adjust the cardboard strips before being taped over. (this somehow took a day to get right. lots of triple-checking)
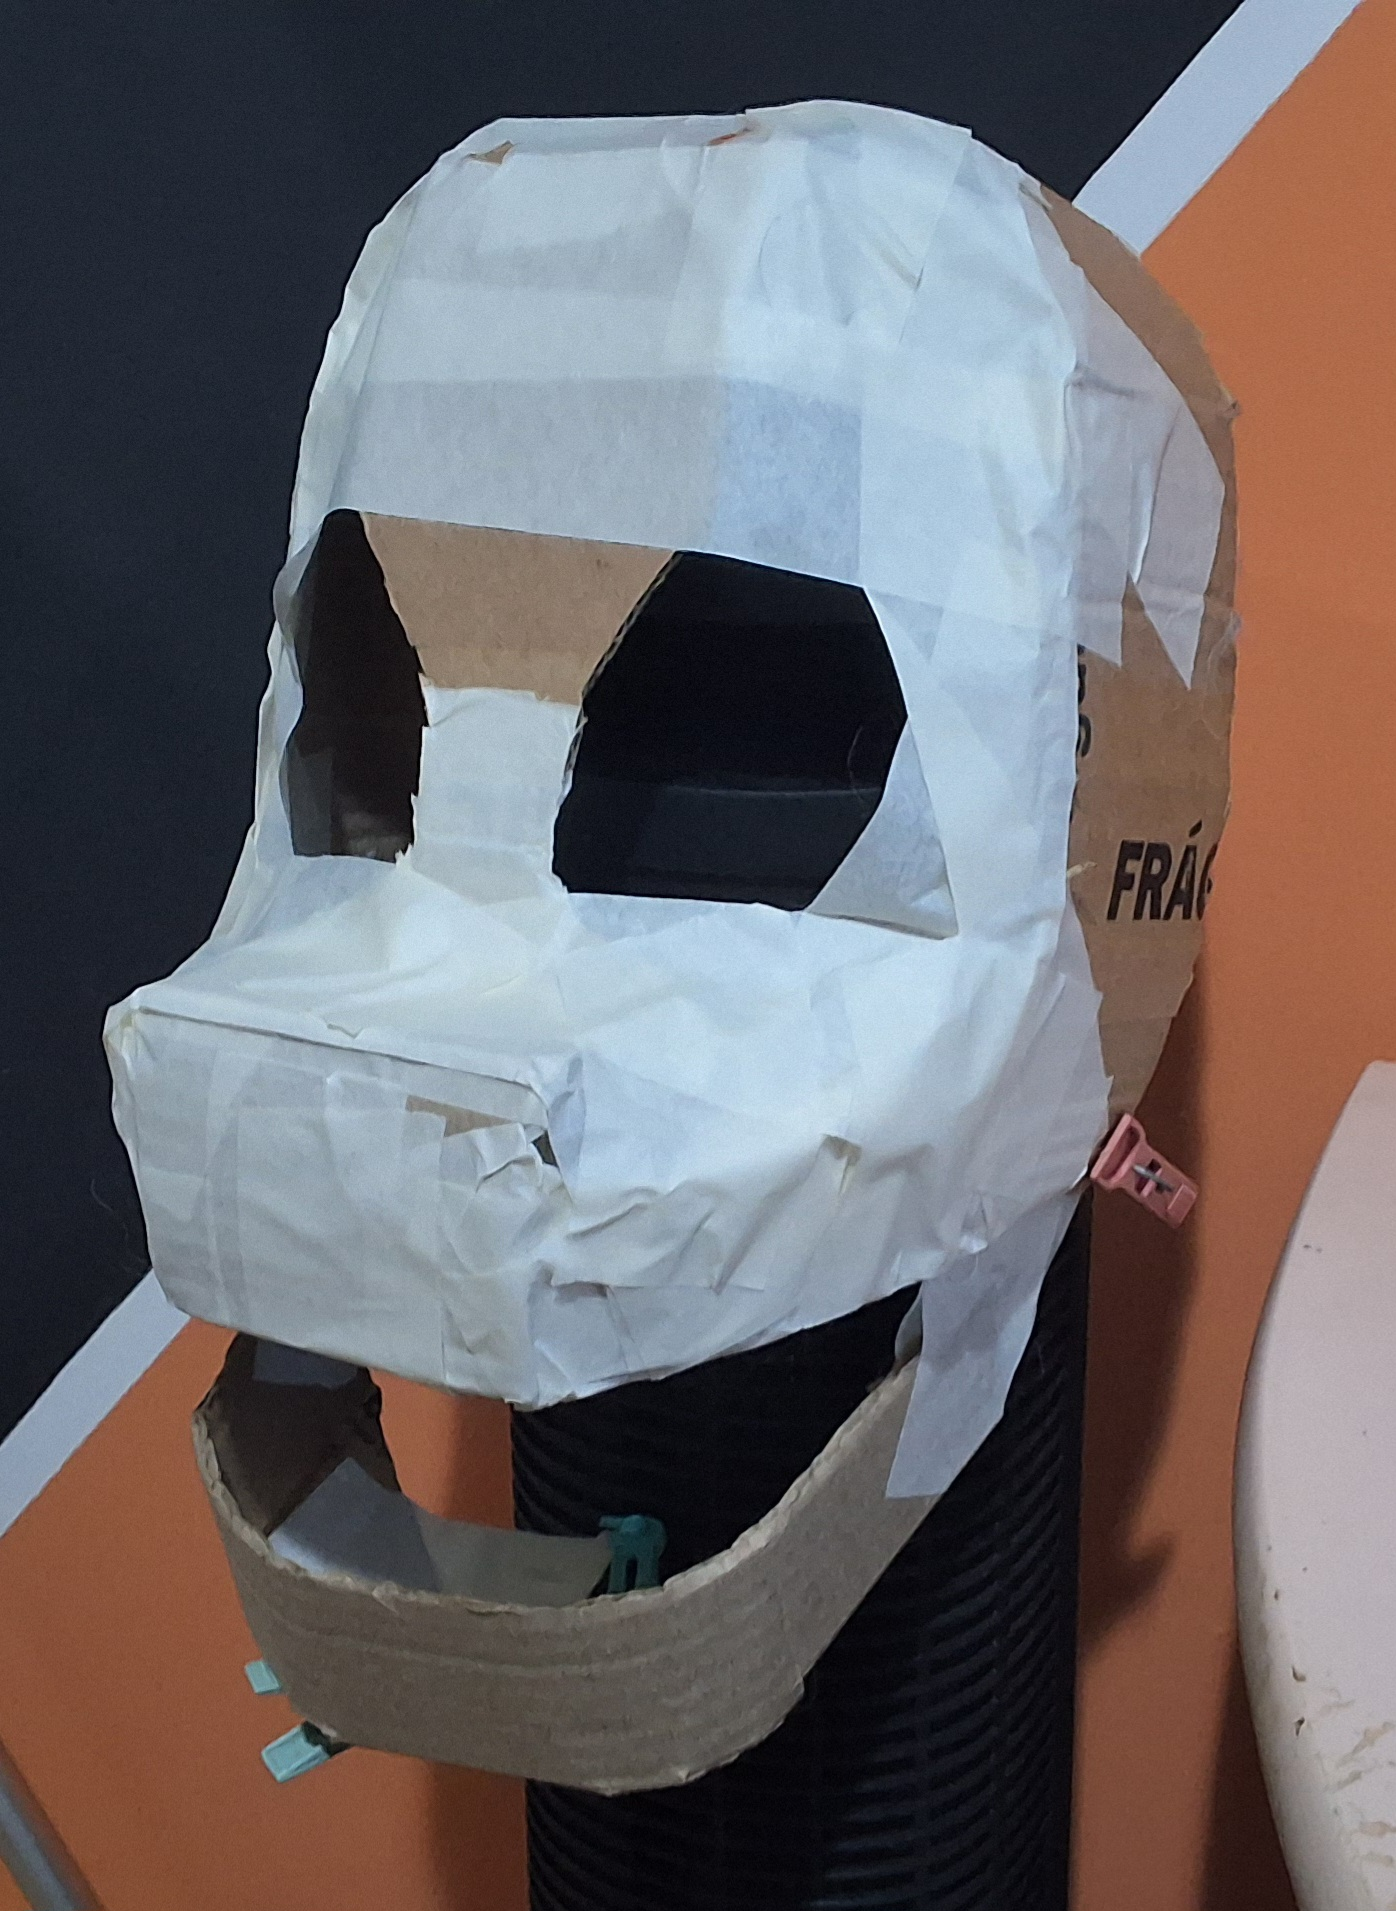
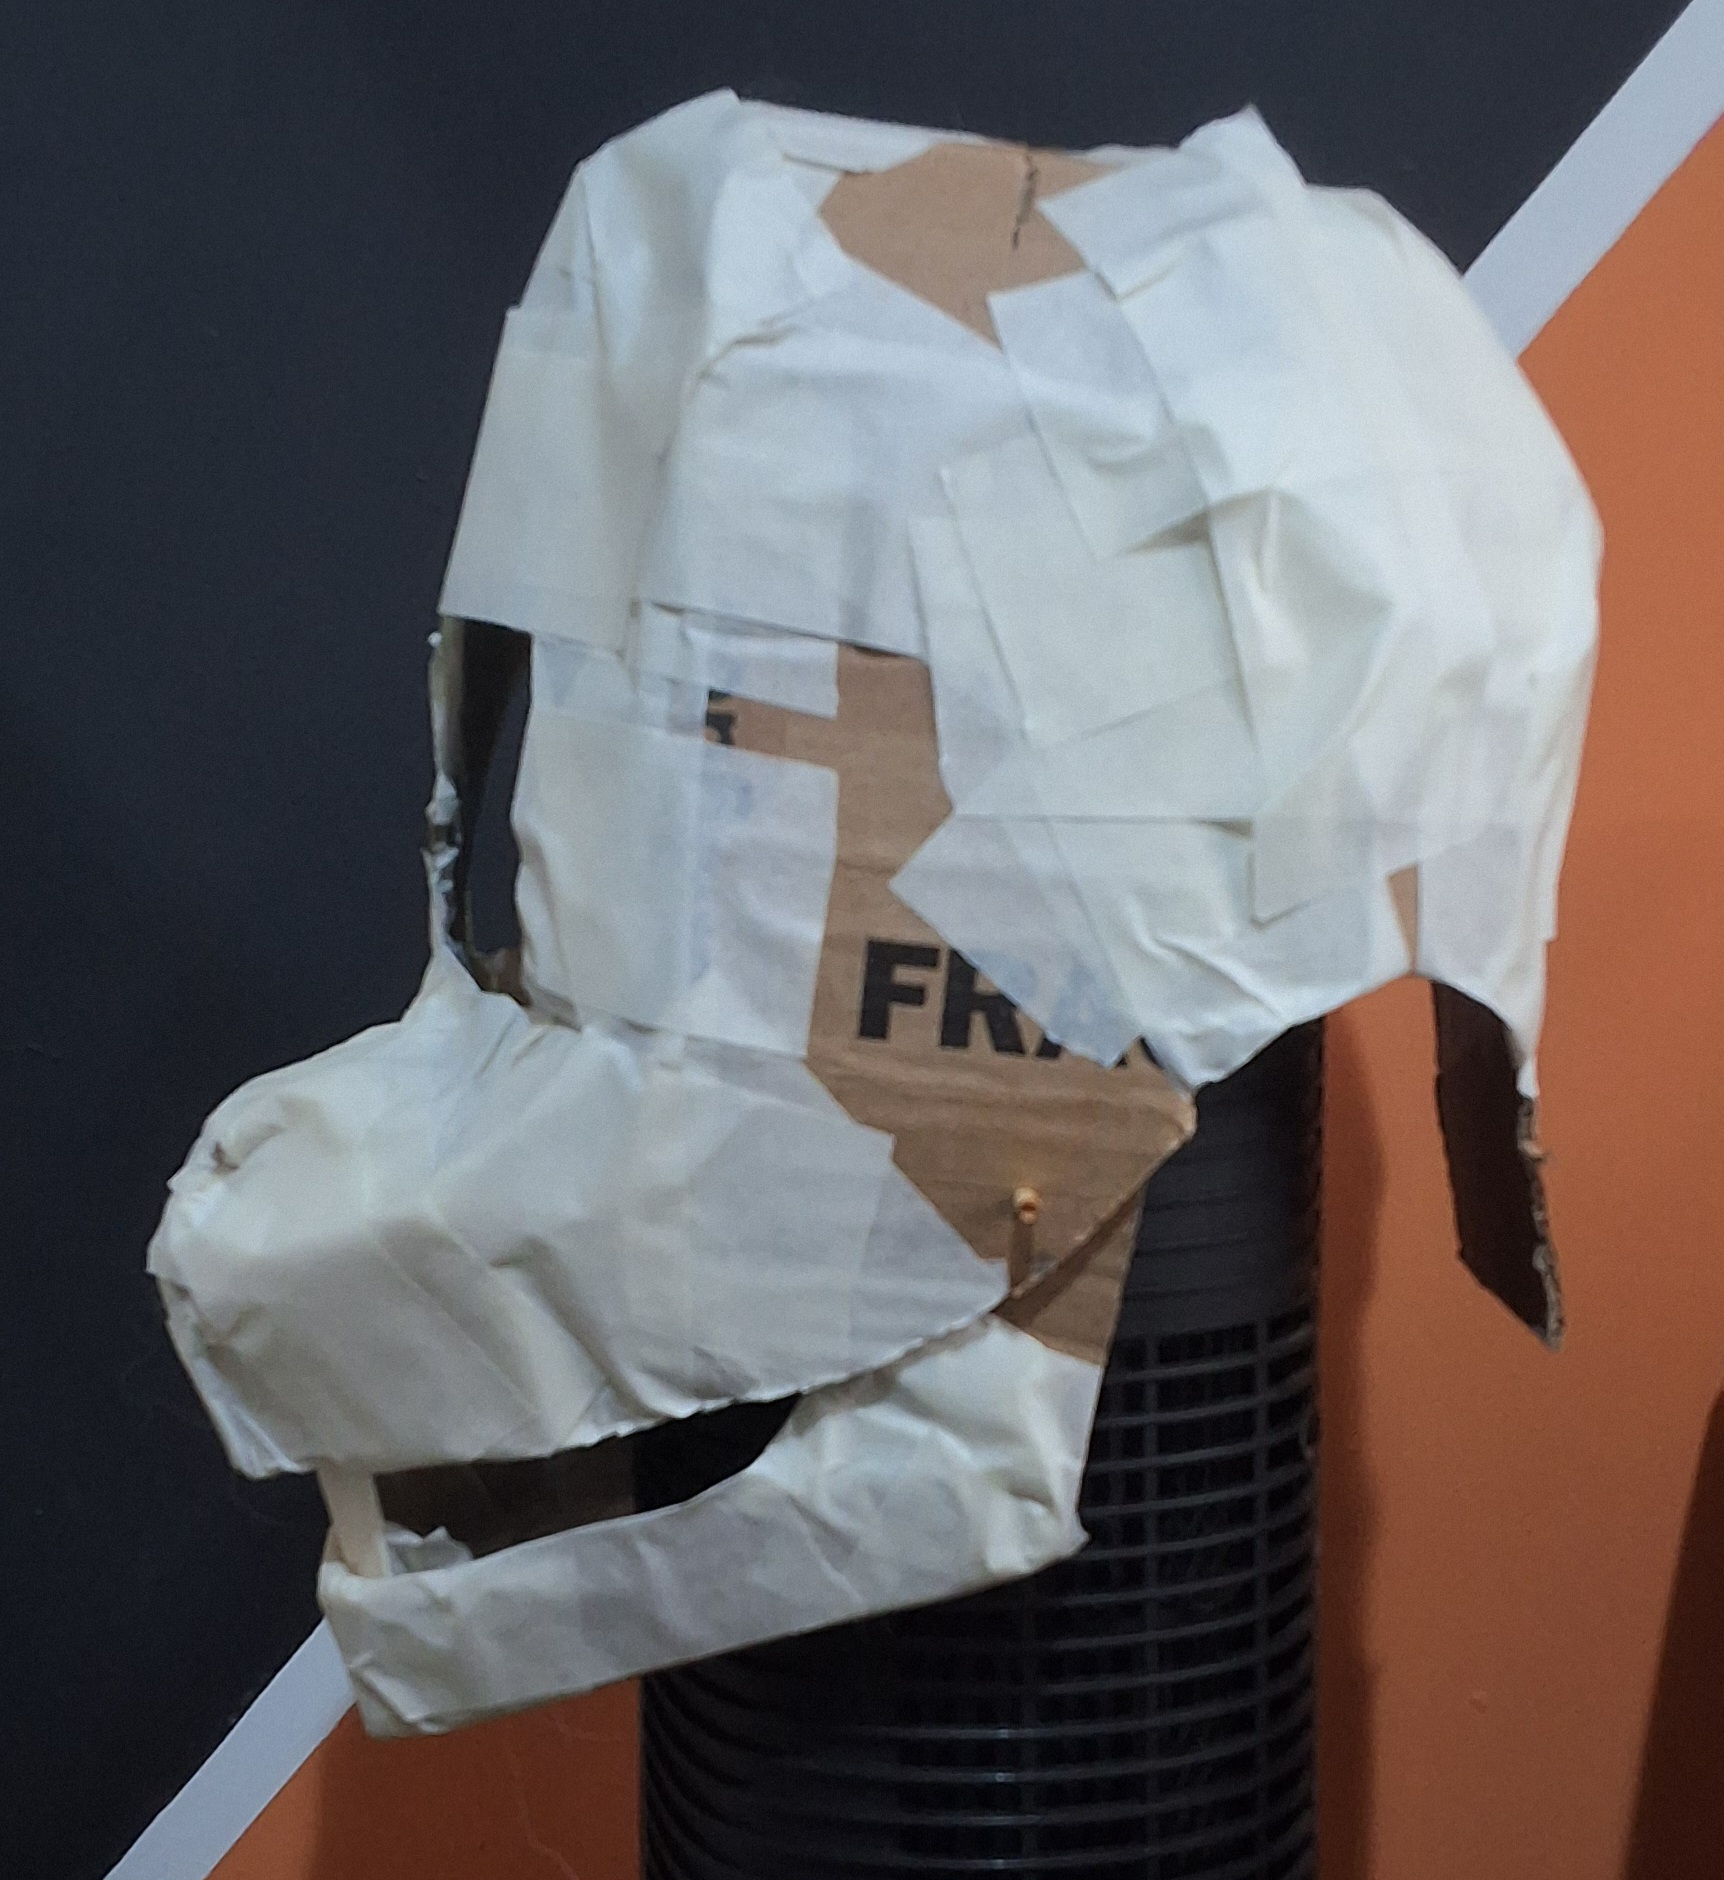
[Day 23] Solidified the head shape using a type of papery tape I couldn't find a translation for and testing the jaw shape.
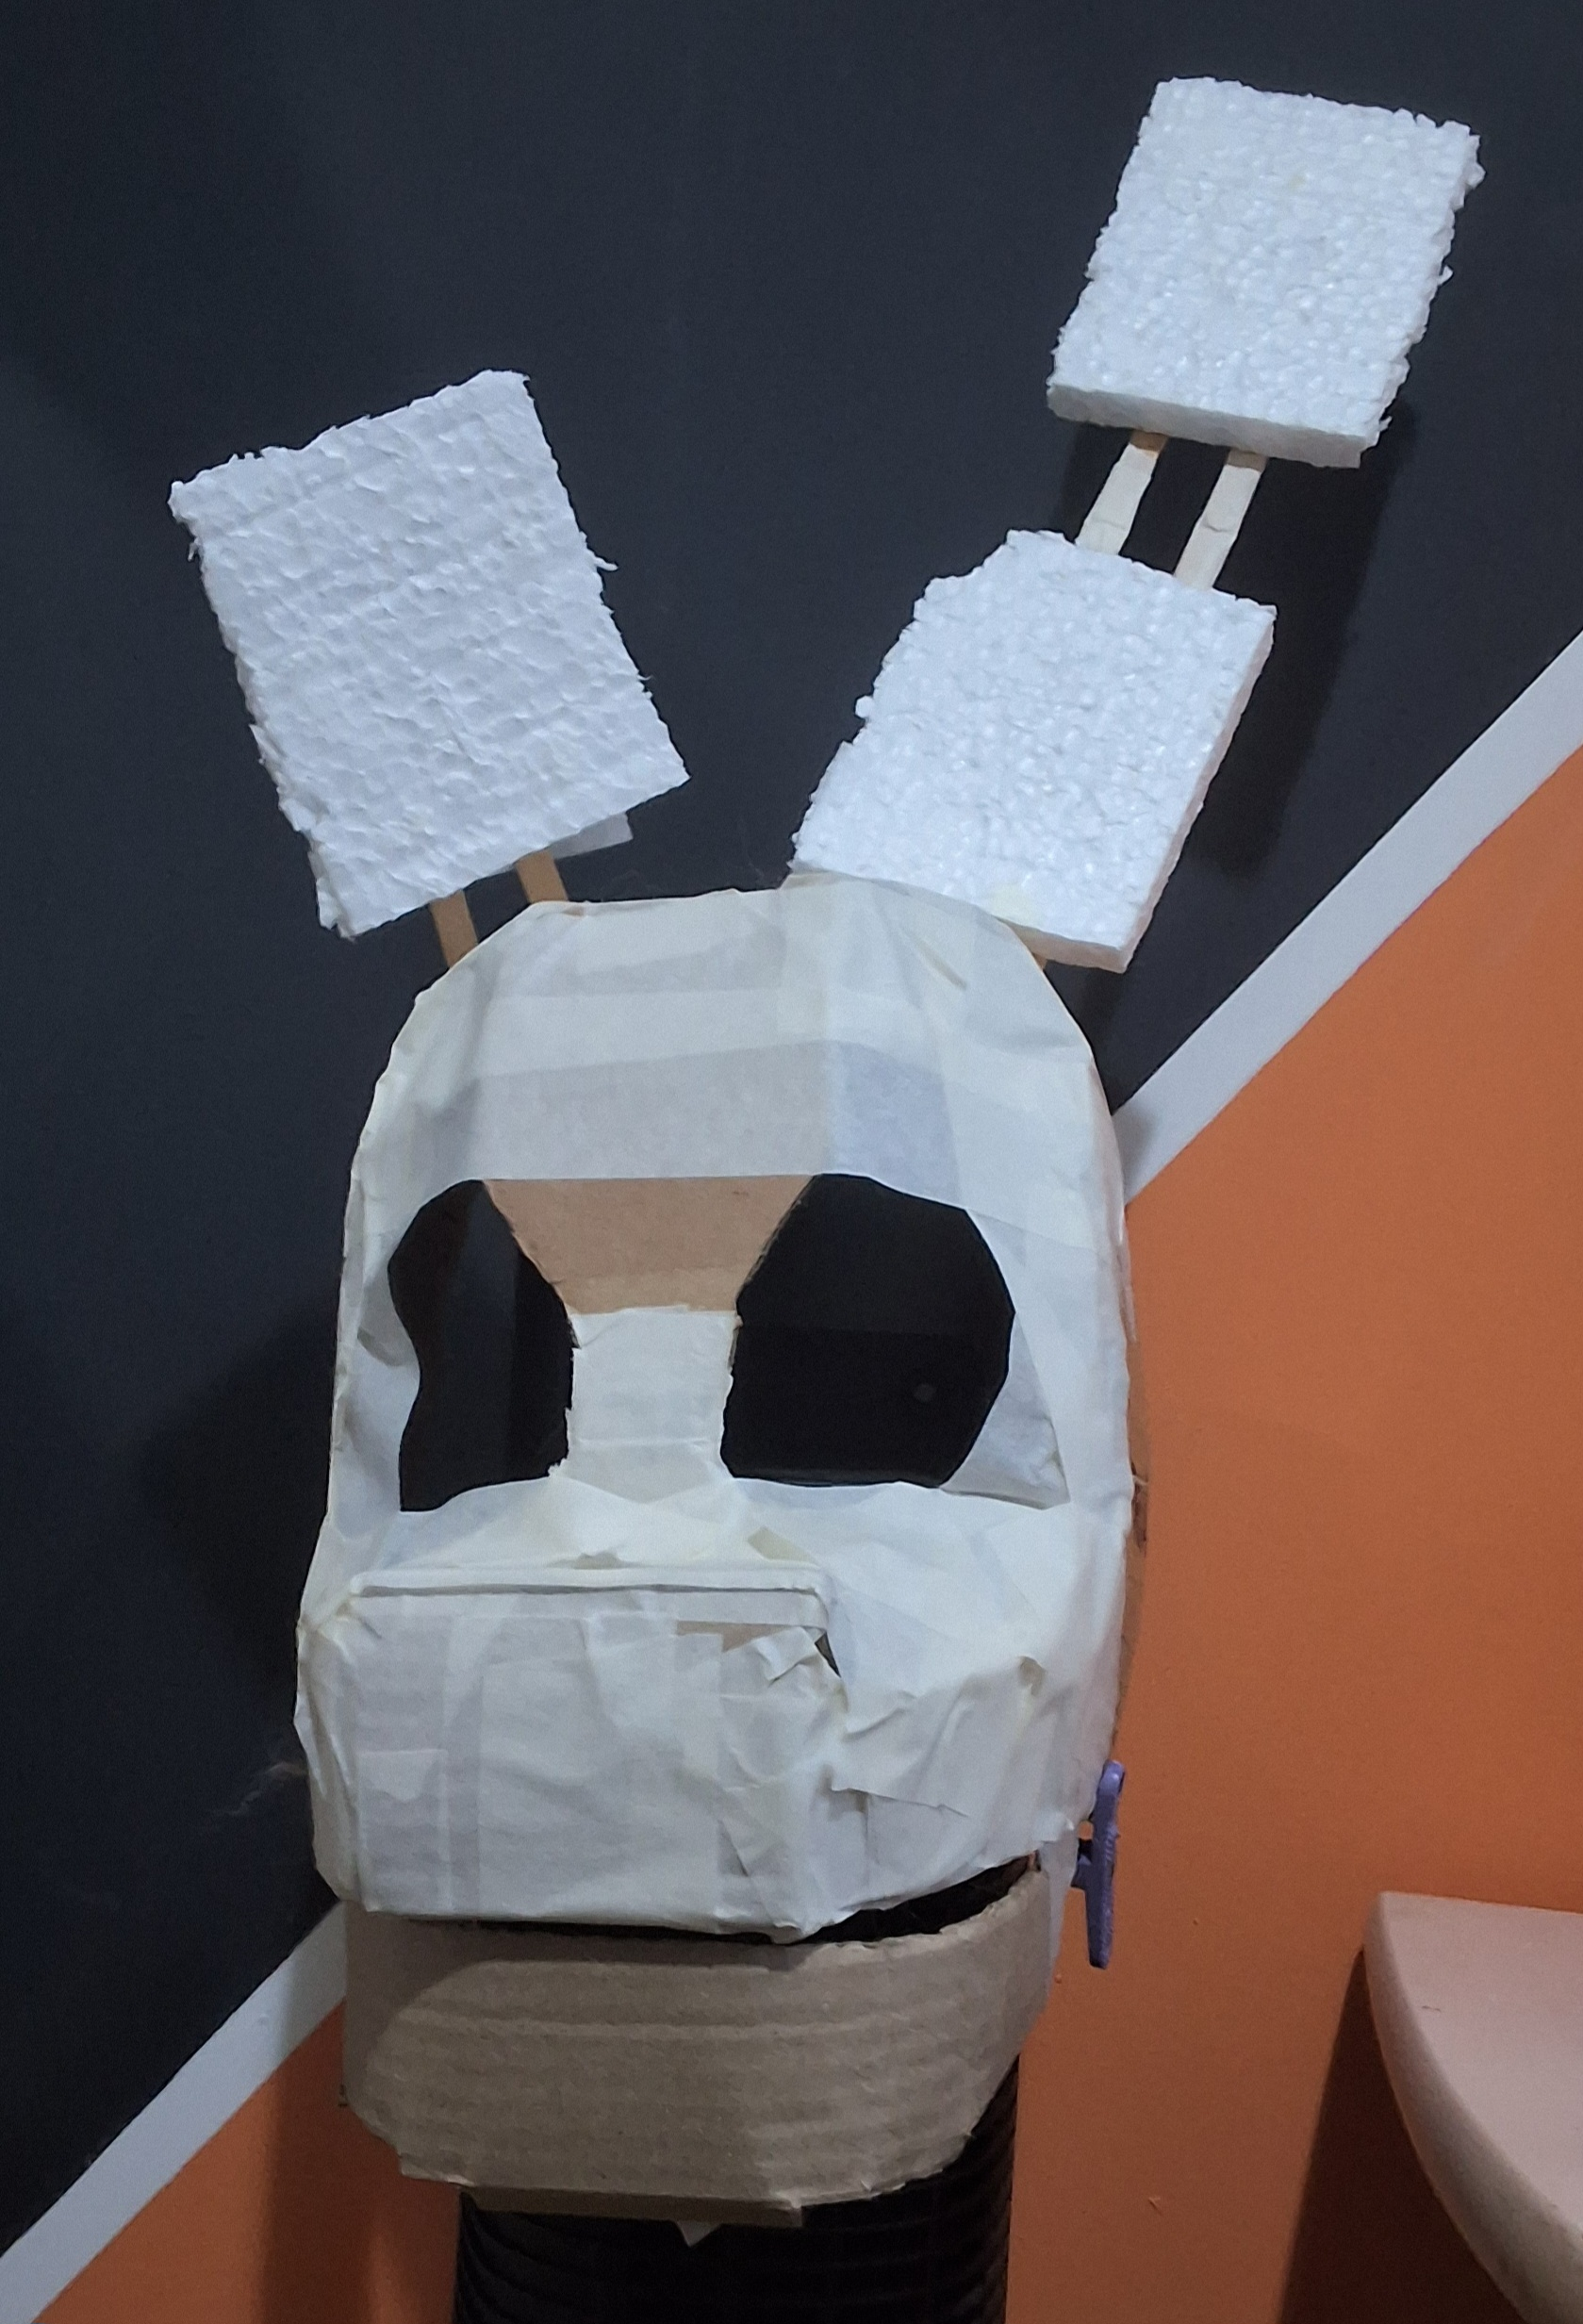
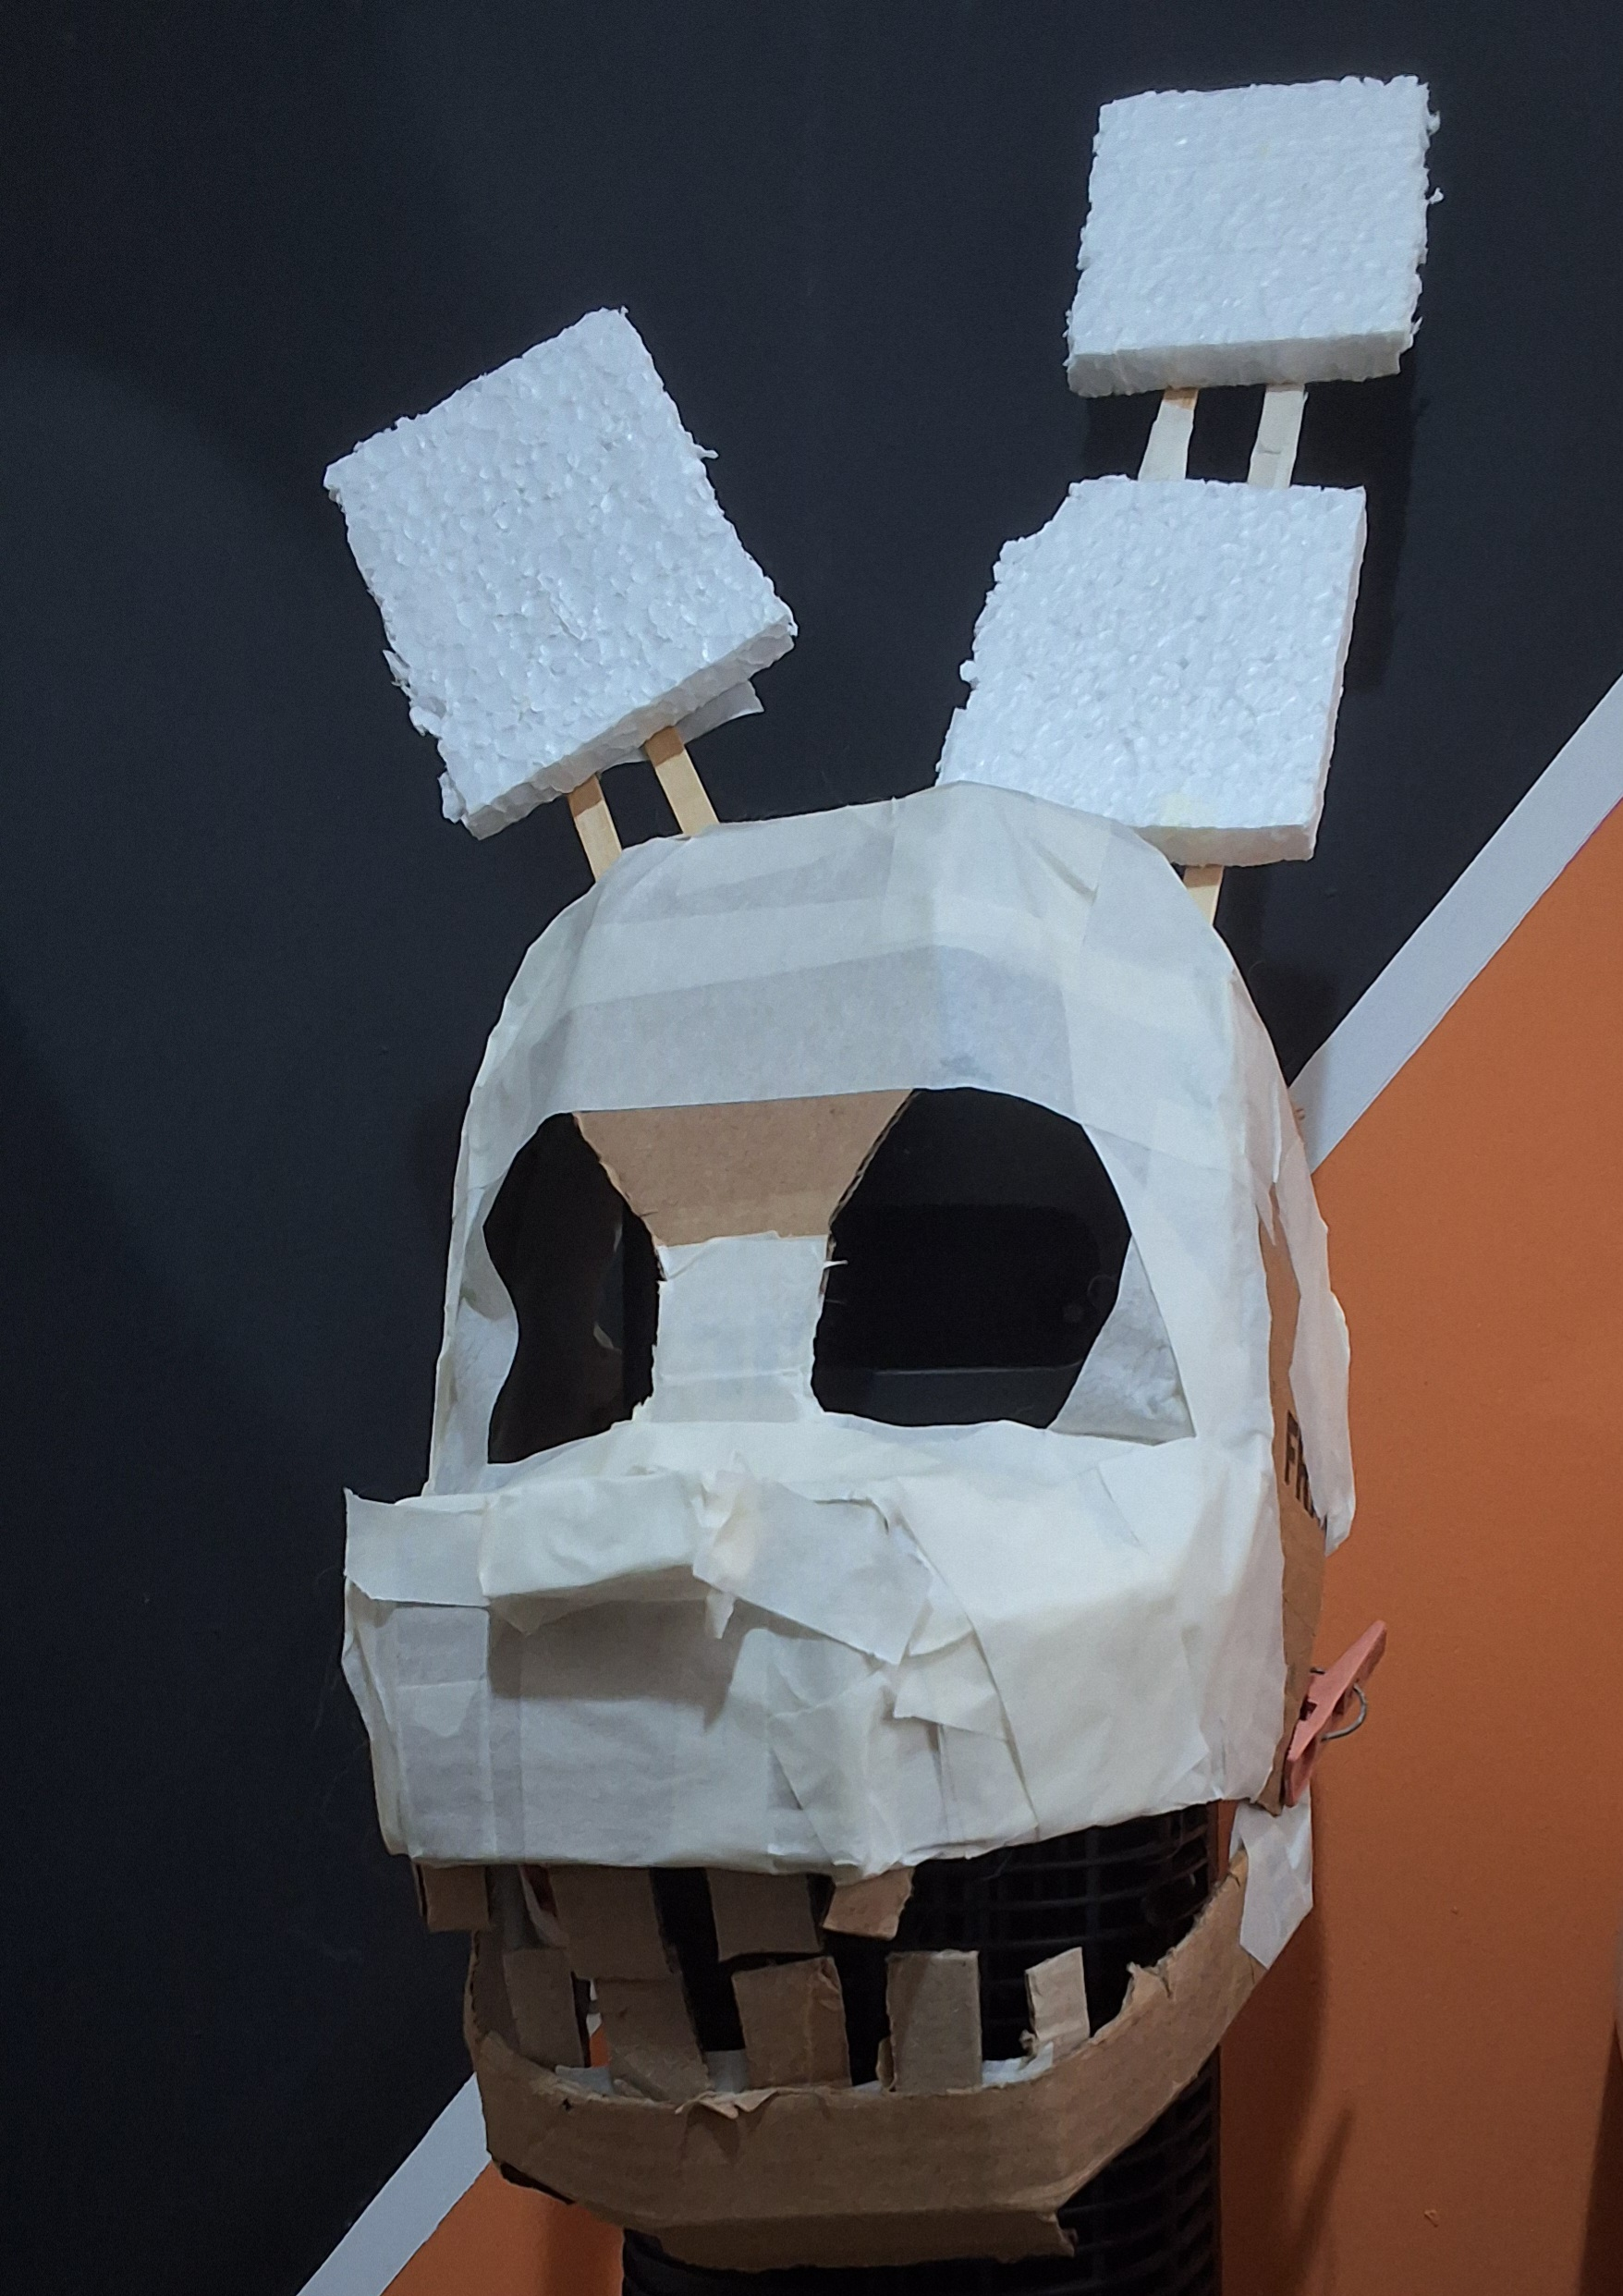
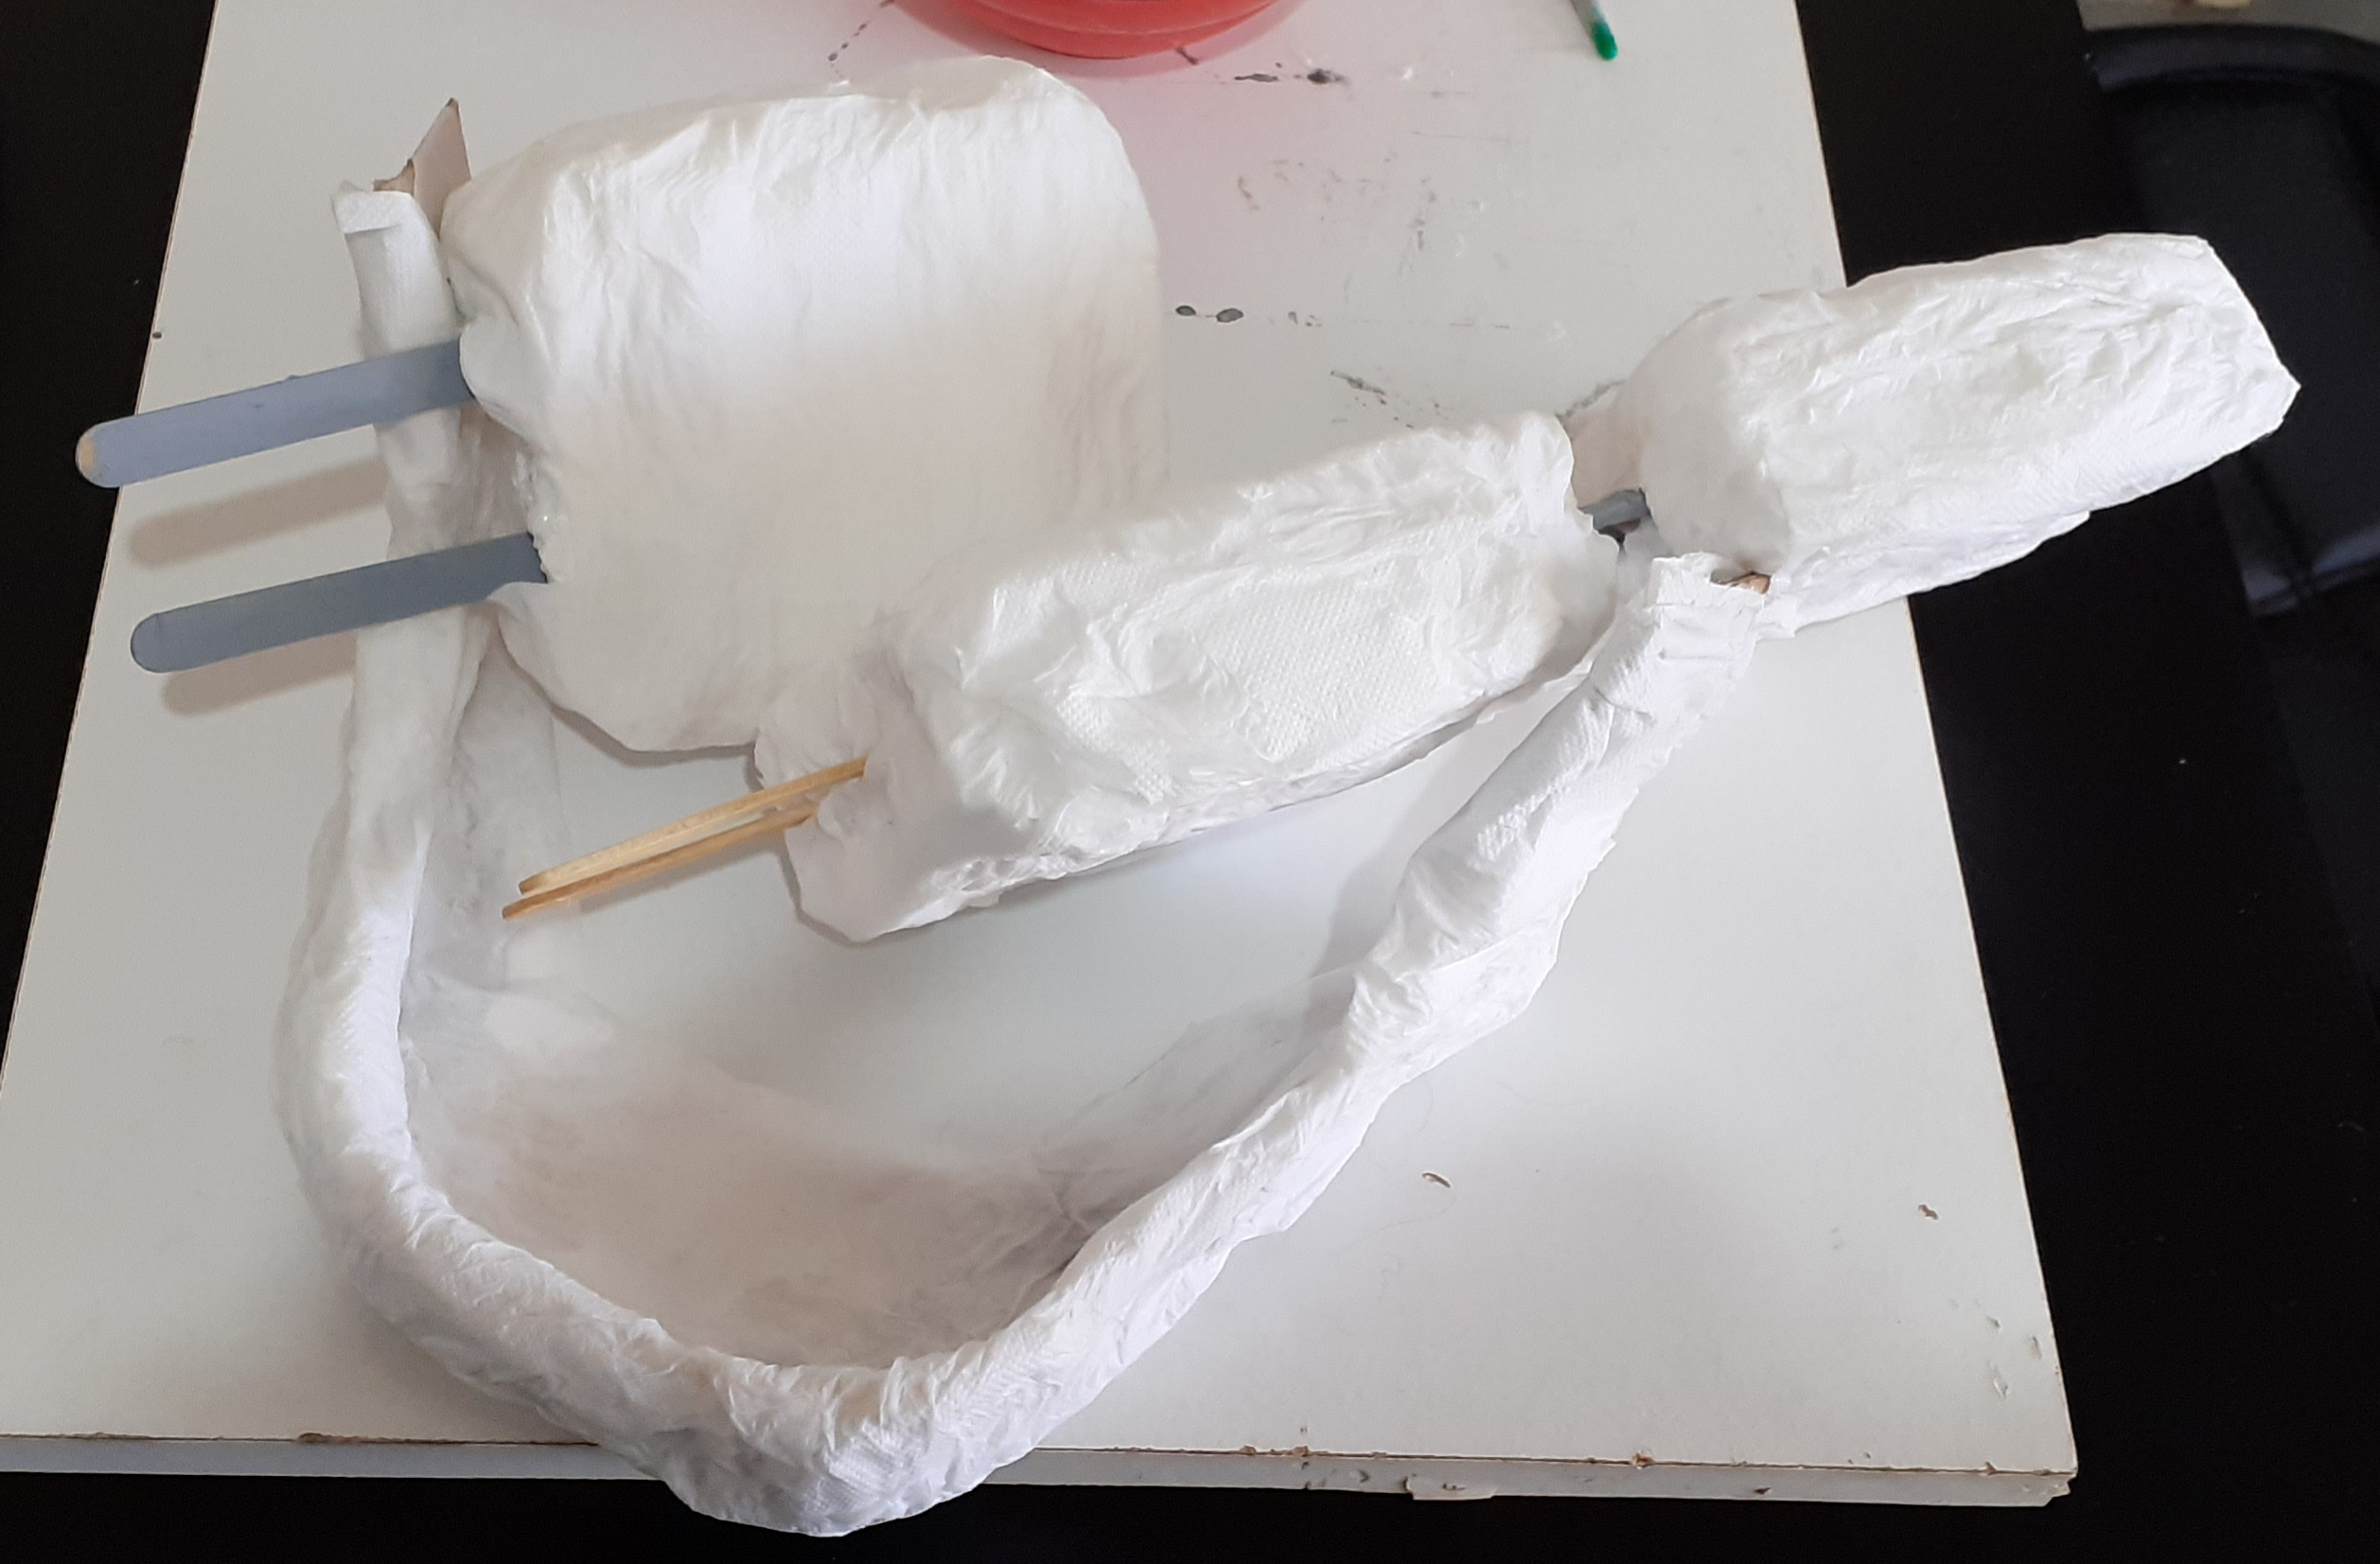
[Day 23] Protyping the ears. They're two sheets of polystyrene sandwiching two popsicle sticks that are connected by tape so that they can slightly wobble.
[Day 23] Remade the jaw with half the height of the previous one. Testing how the nose and teeth will probably look.
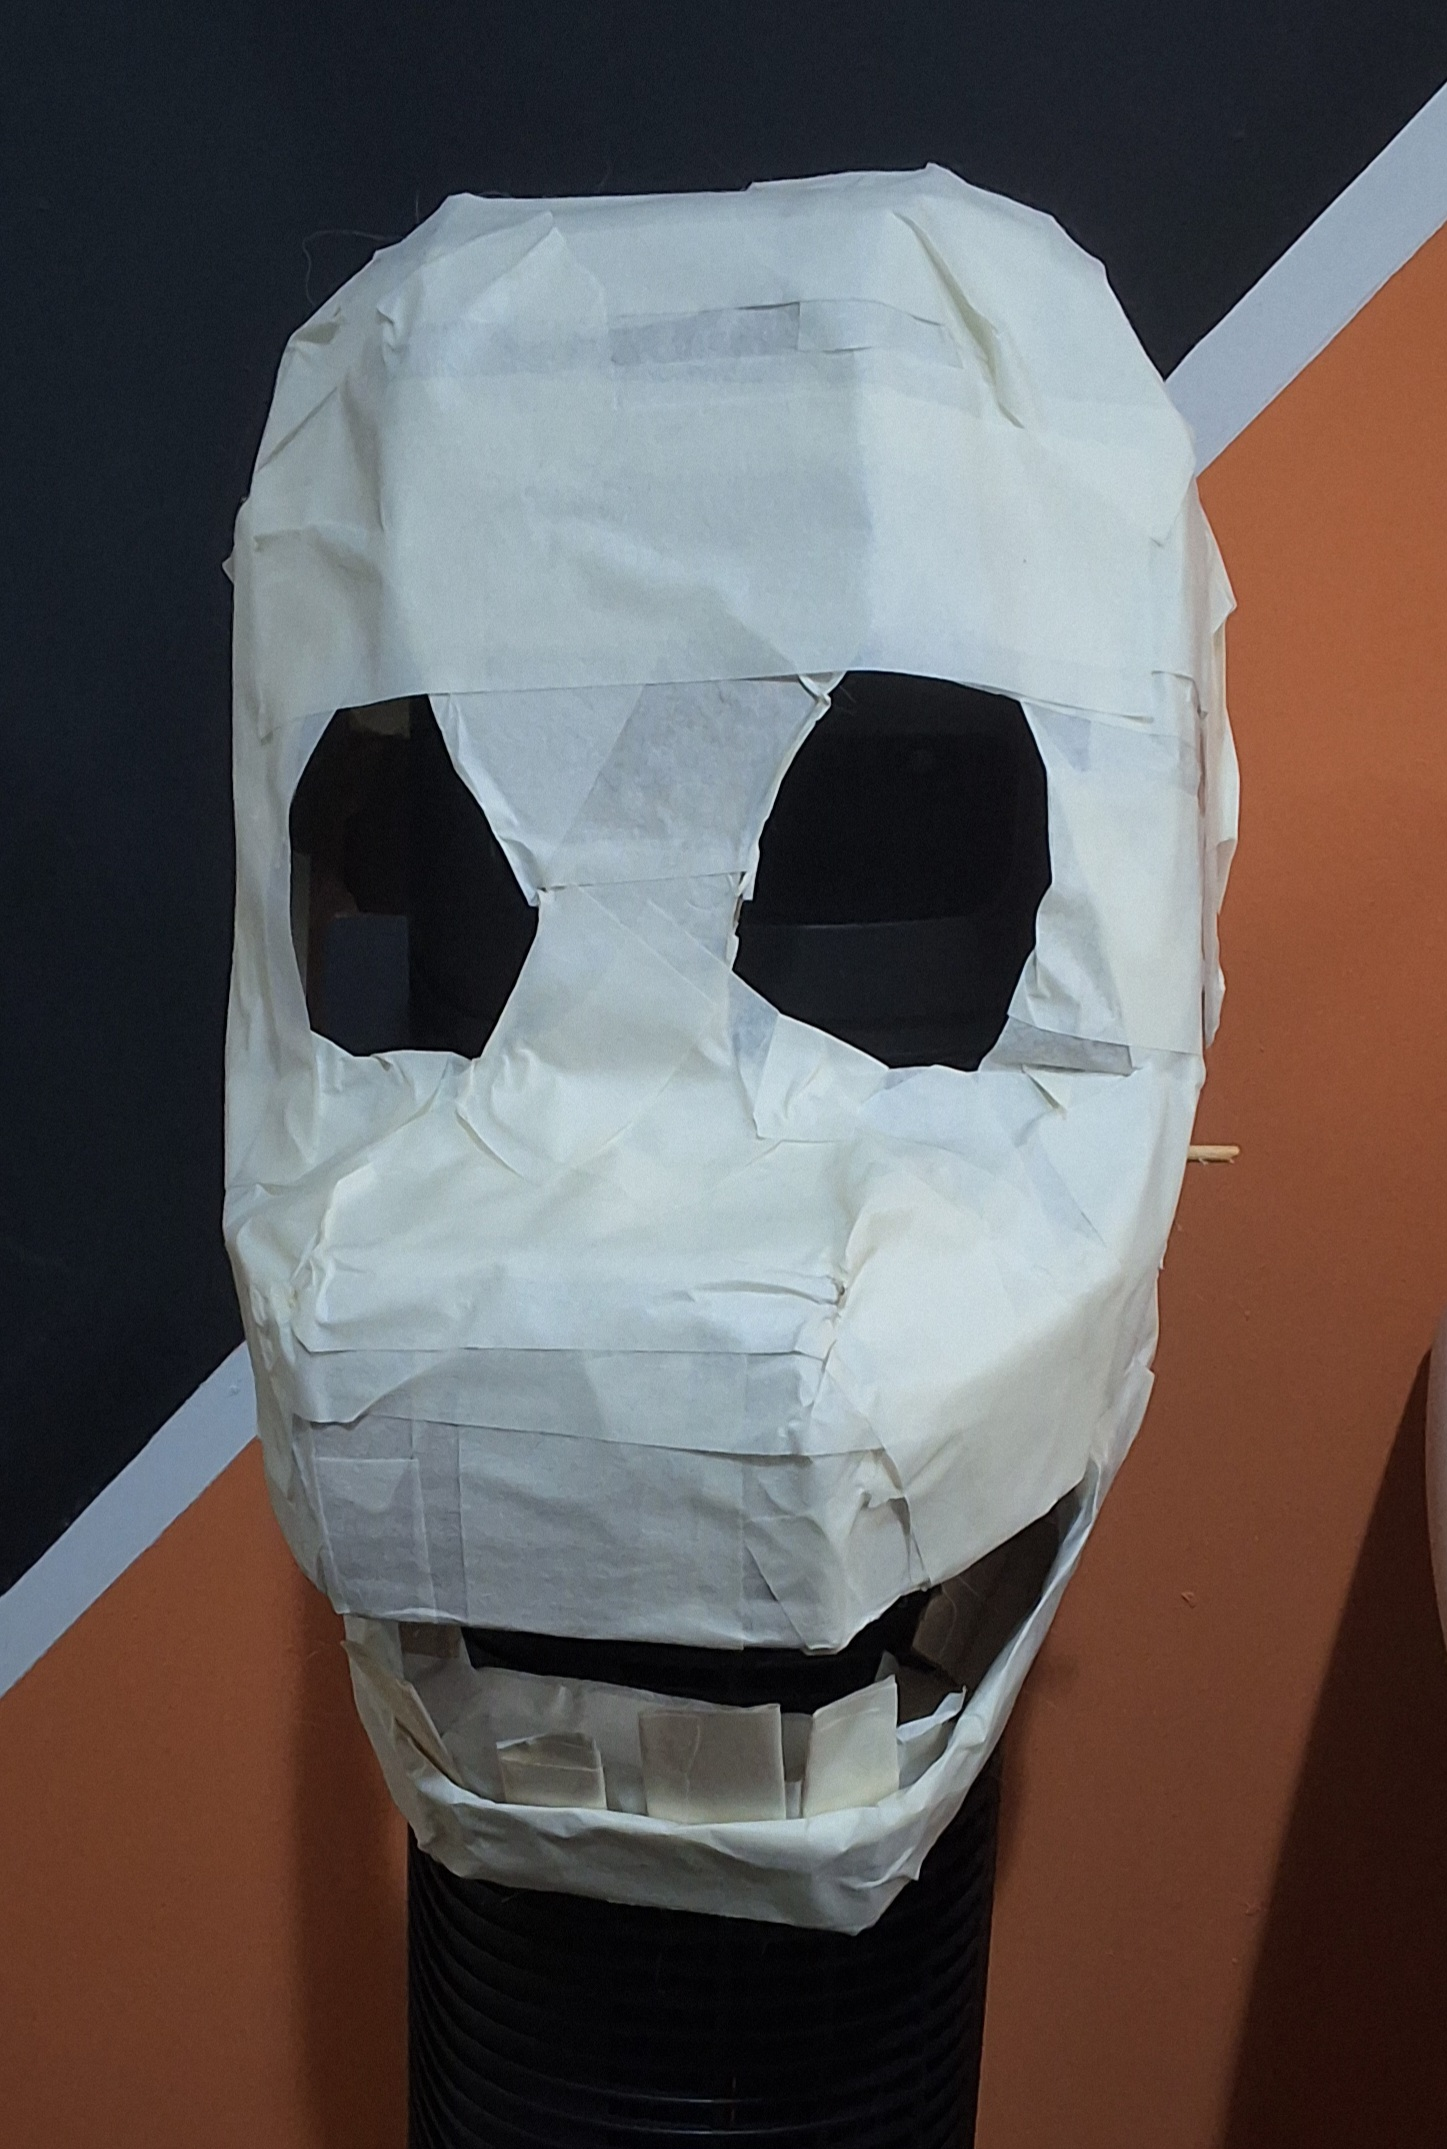
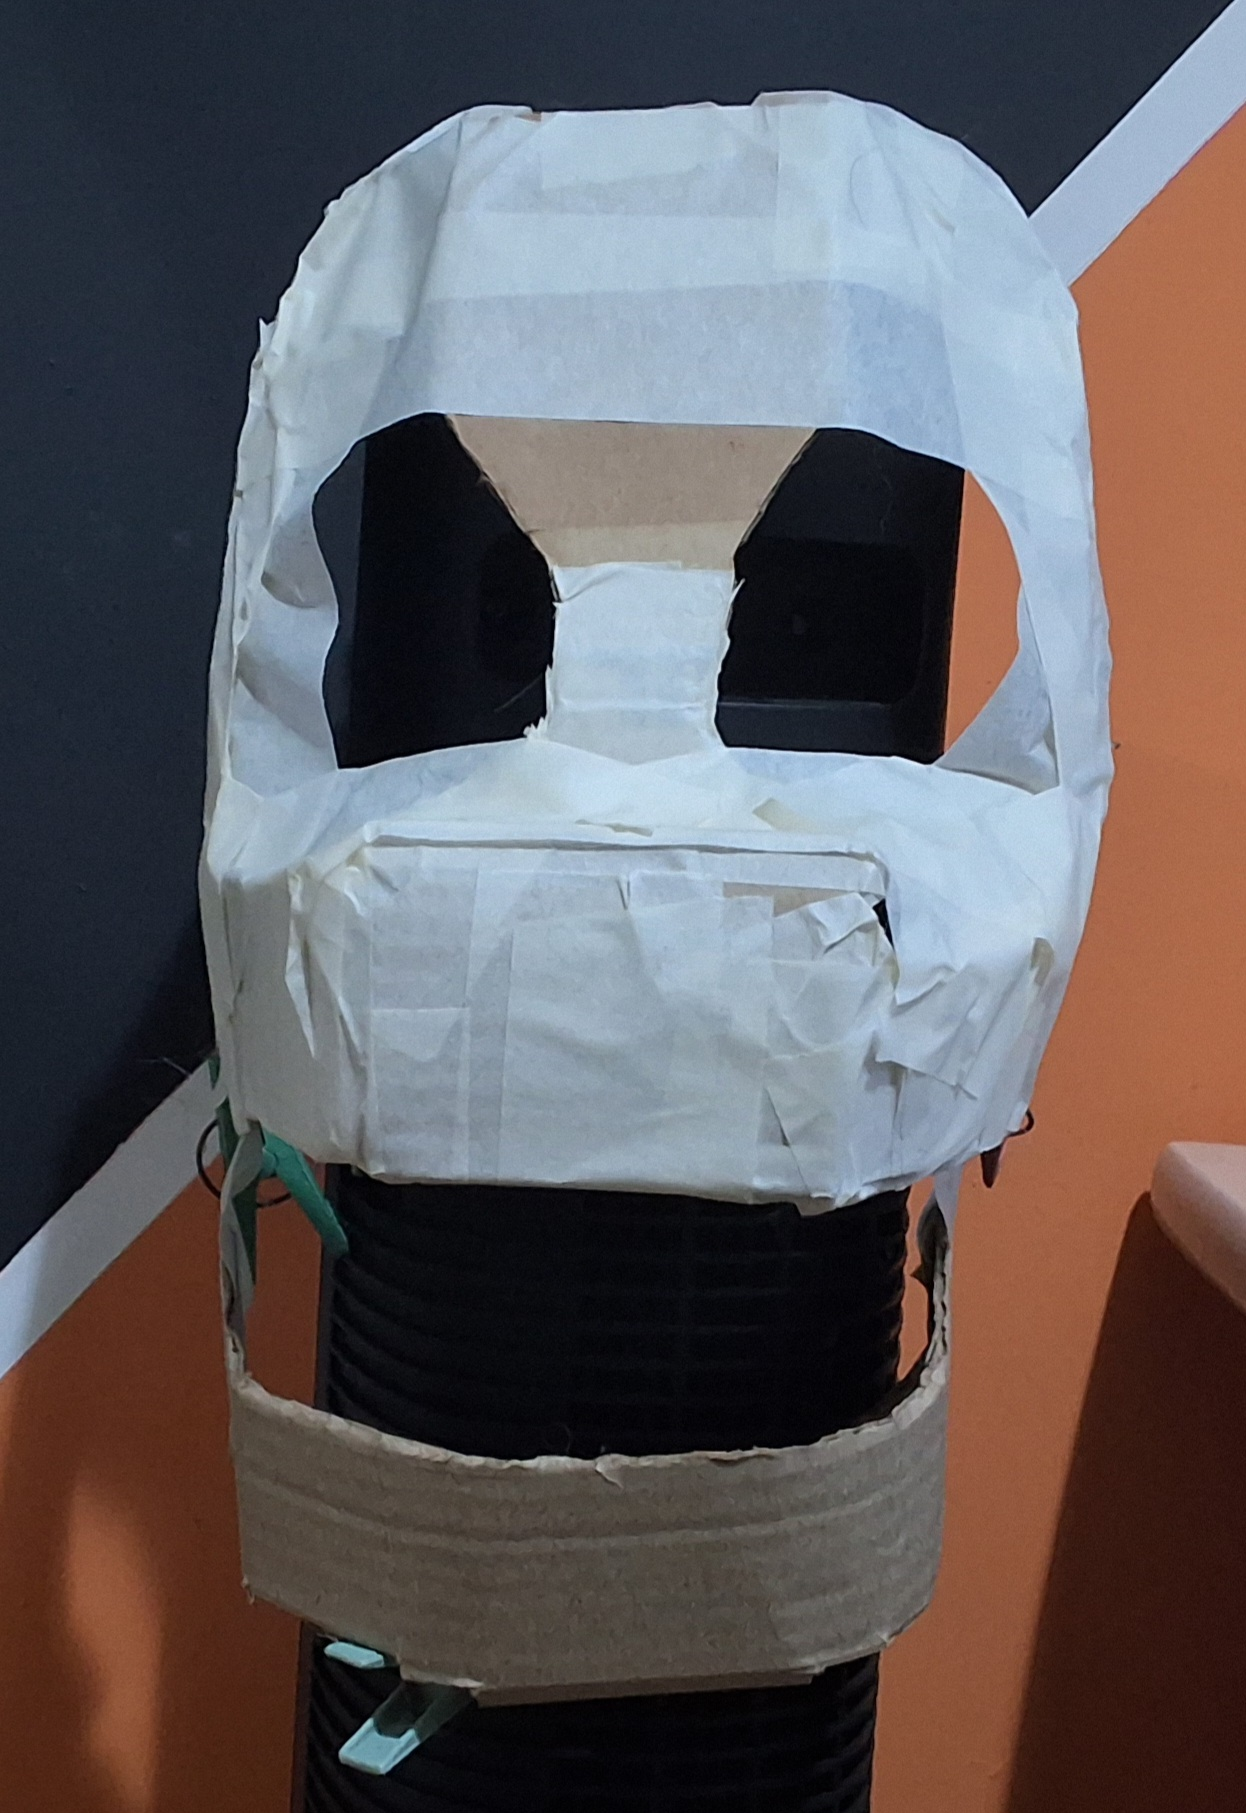
[Day 23] Covered the head in tape in preparation for finalizing it with paper mache, plus testing teeth made out of tape.
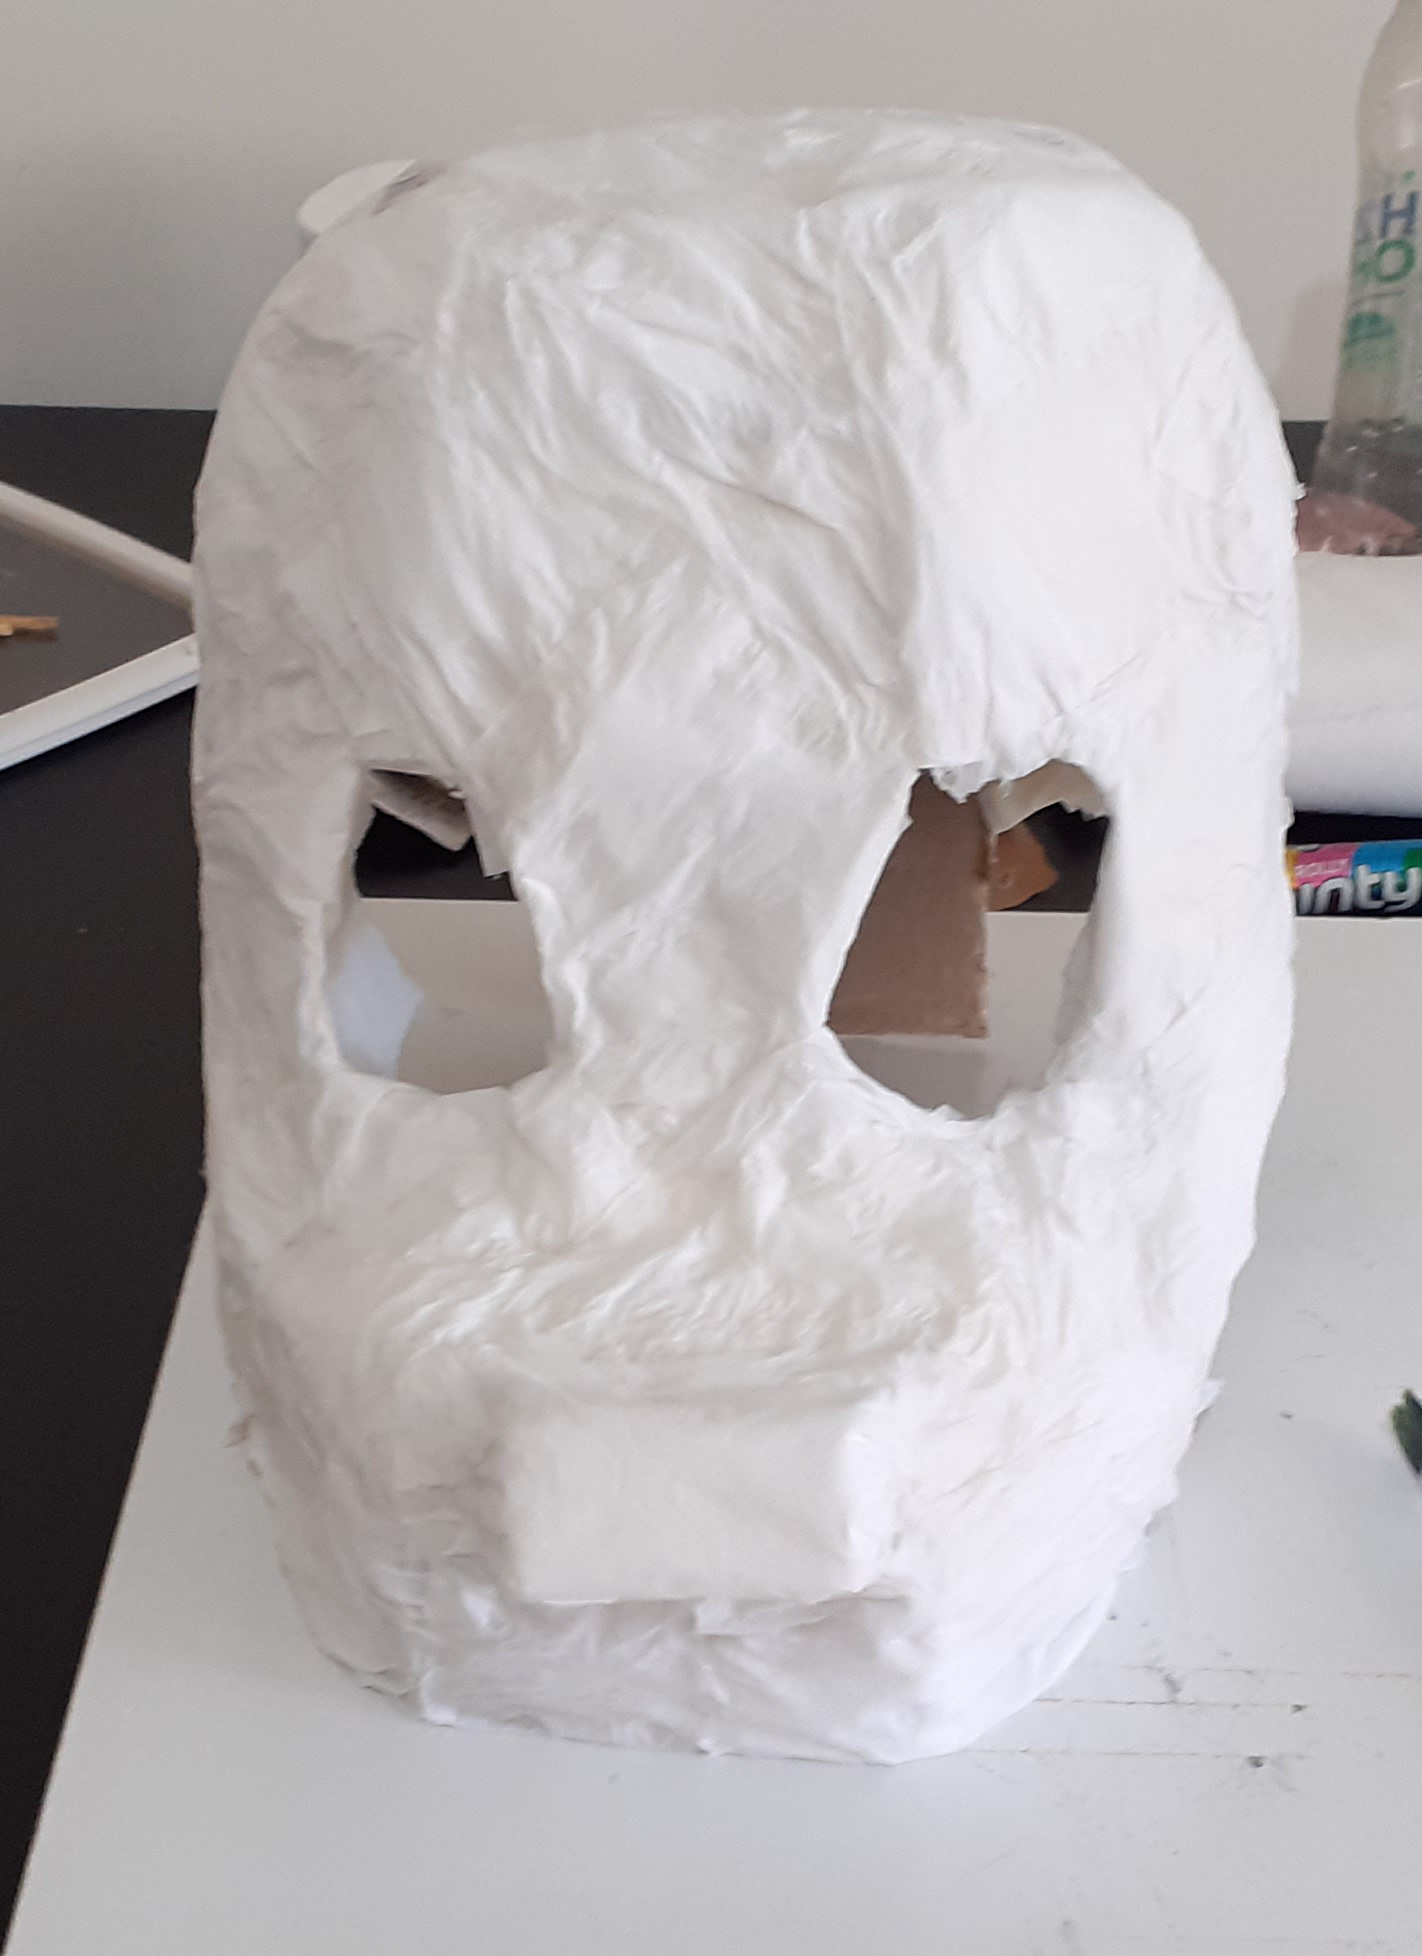
[Day 24] Drying up after being coated in toilet paper and one part water, one part white glue mixture. Originally meant to use brown packaging paper in absence of newspaper but it was not soft enough.
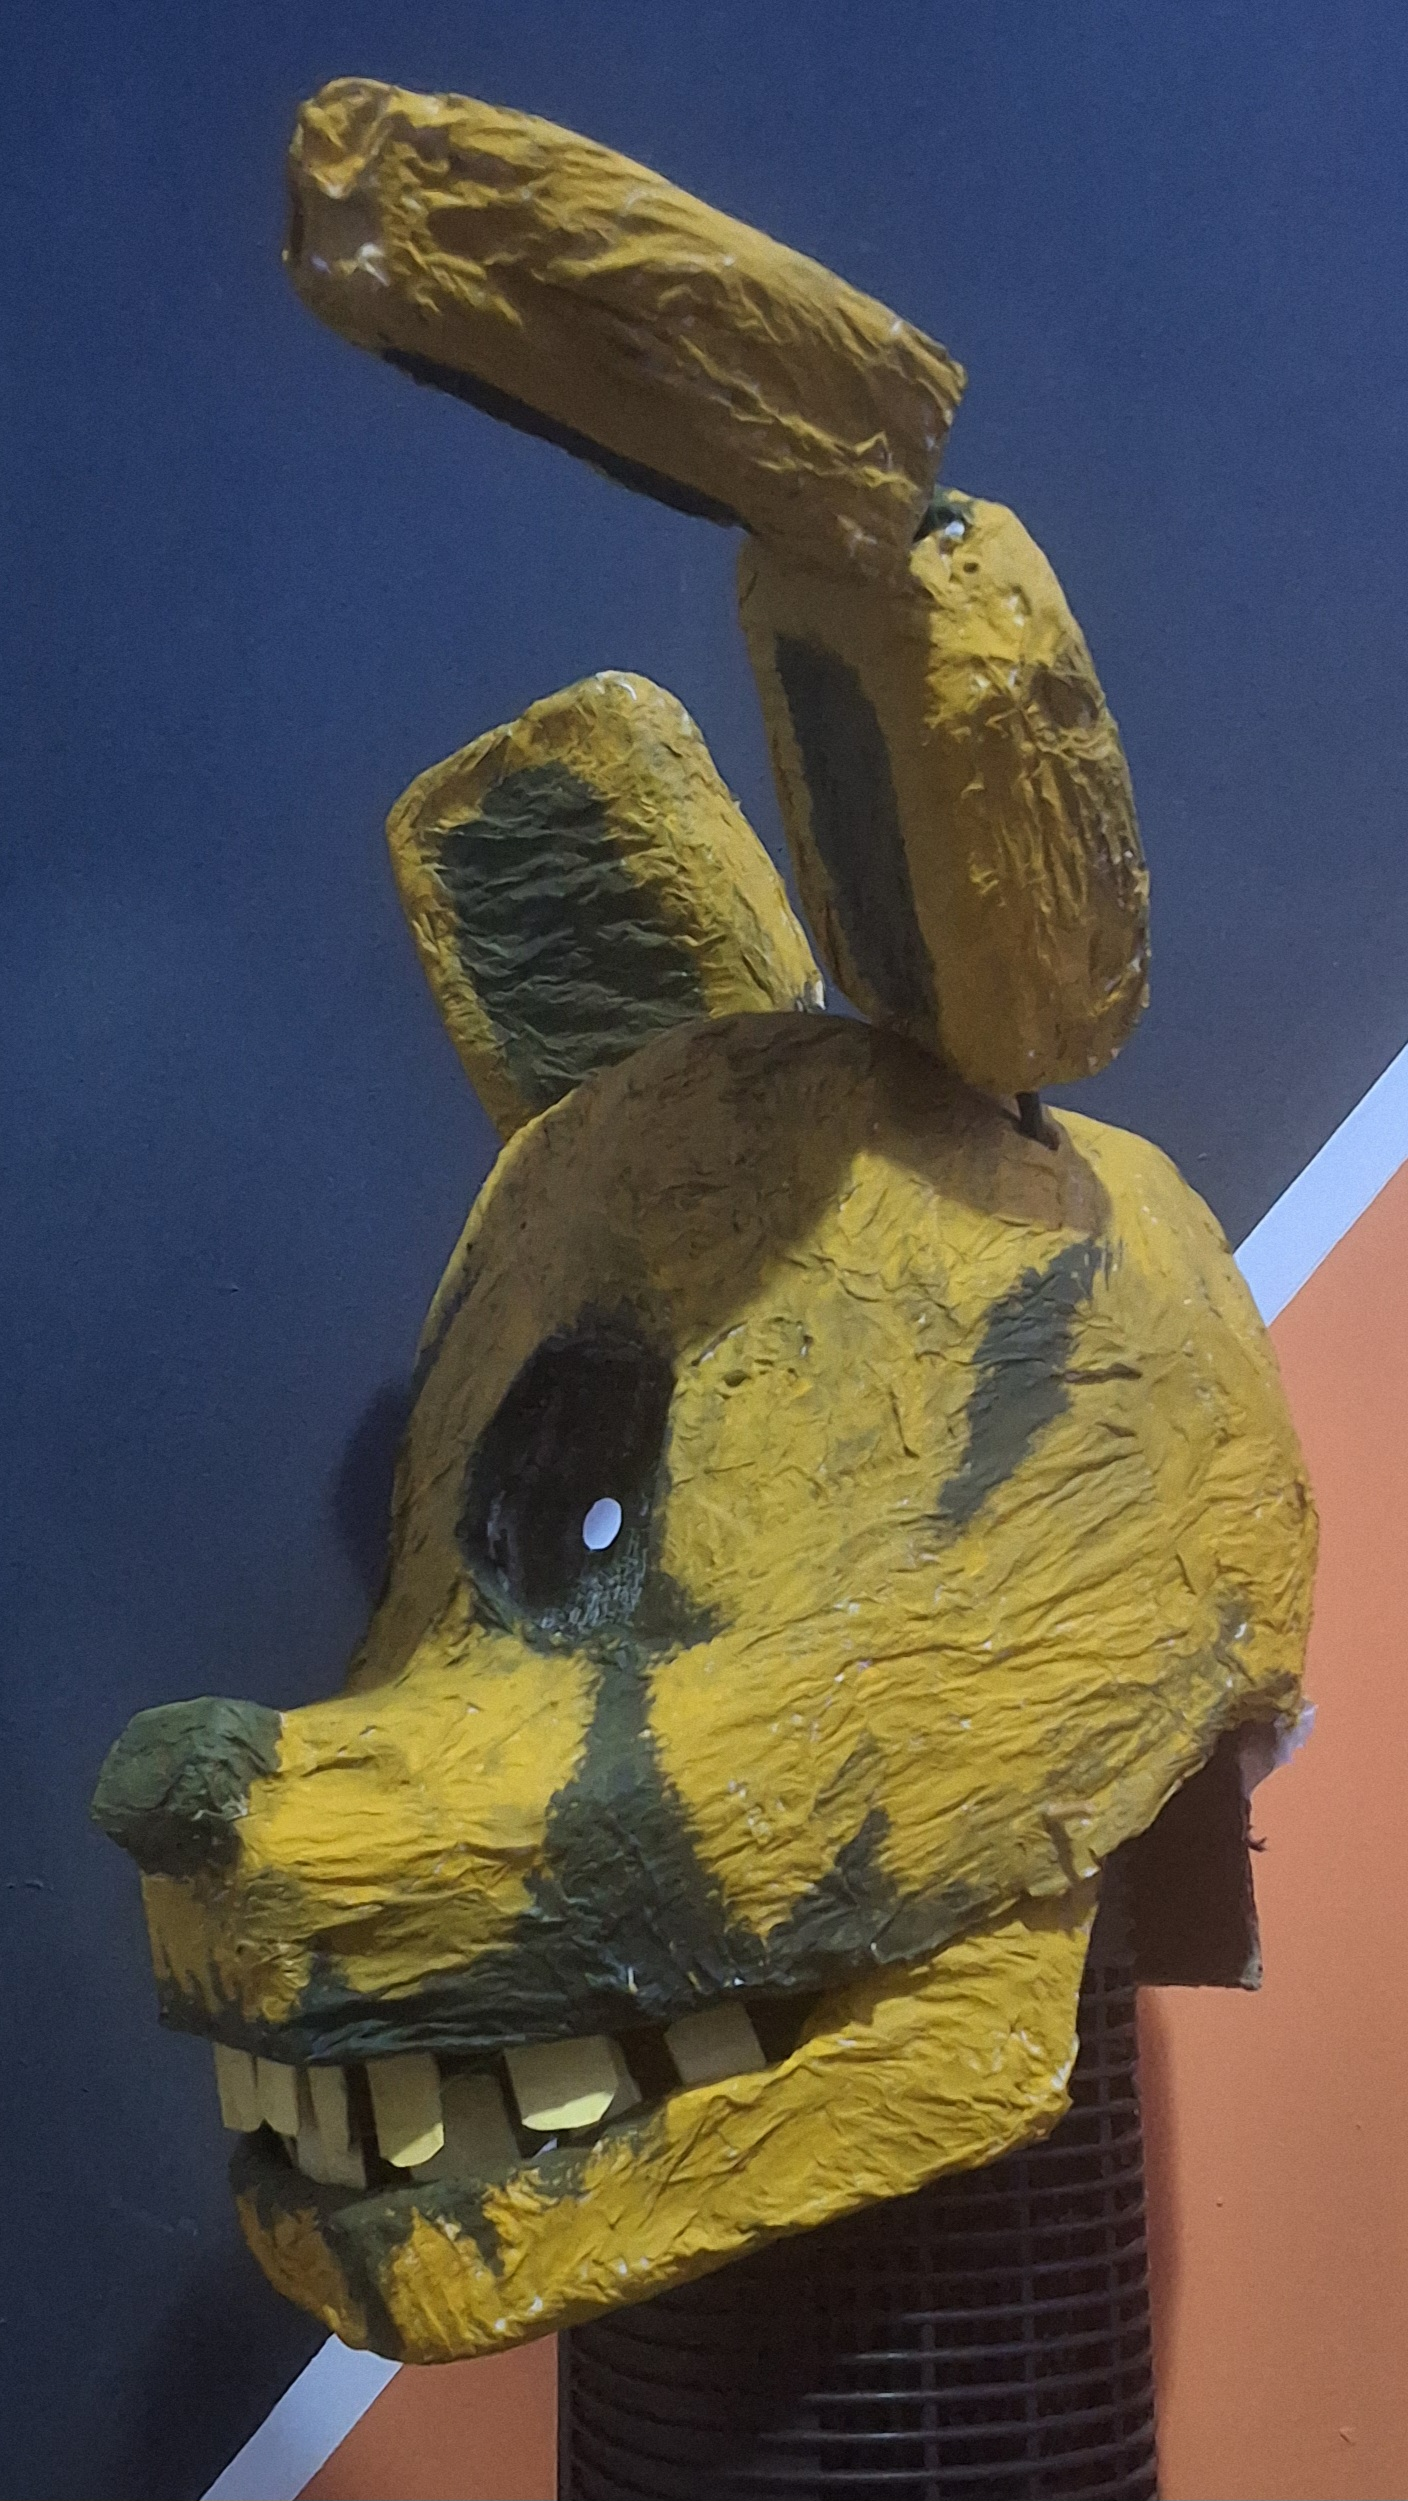
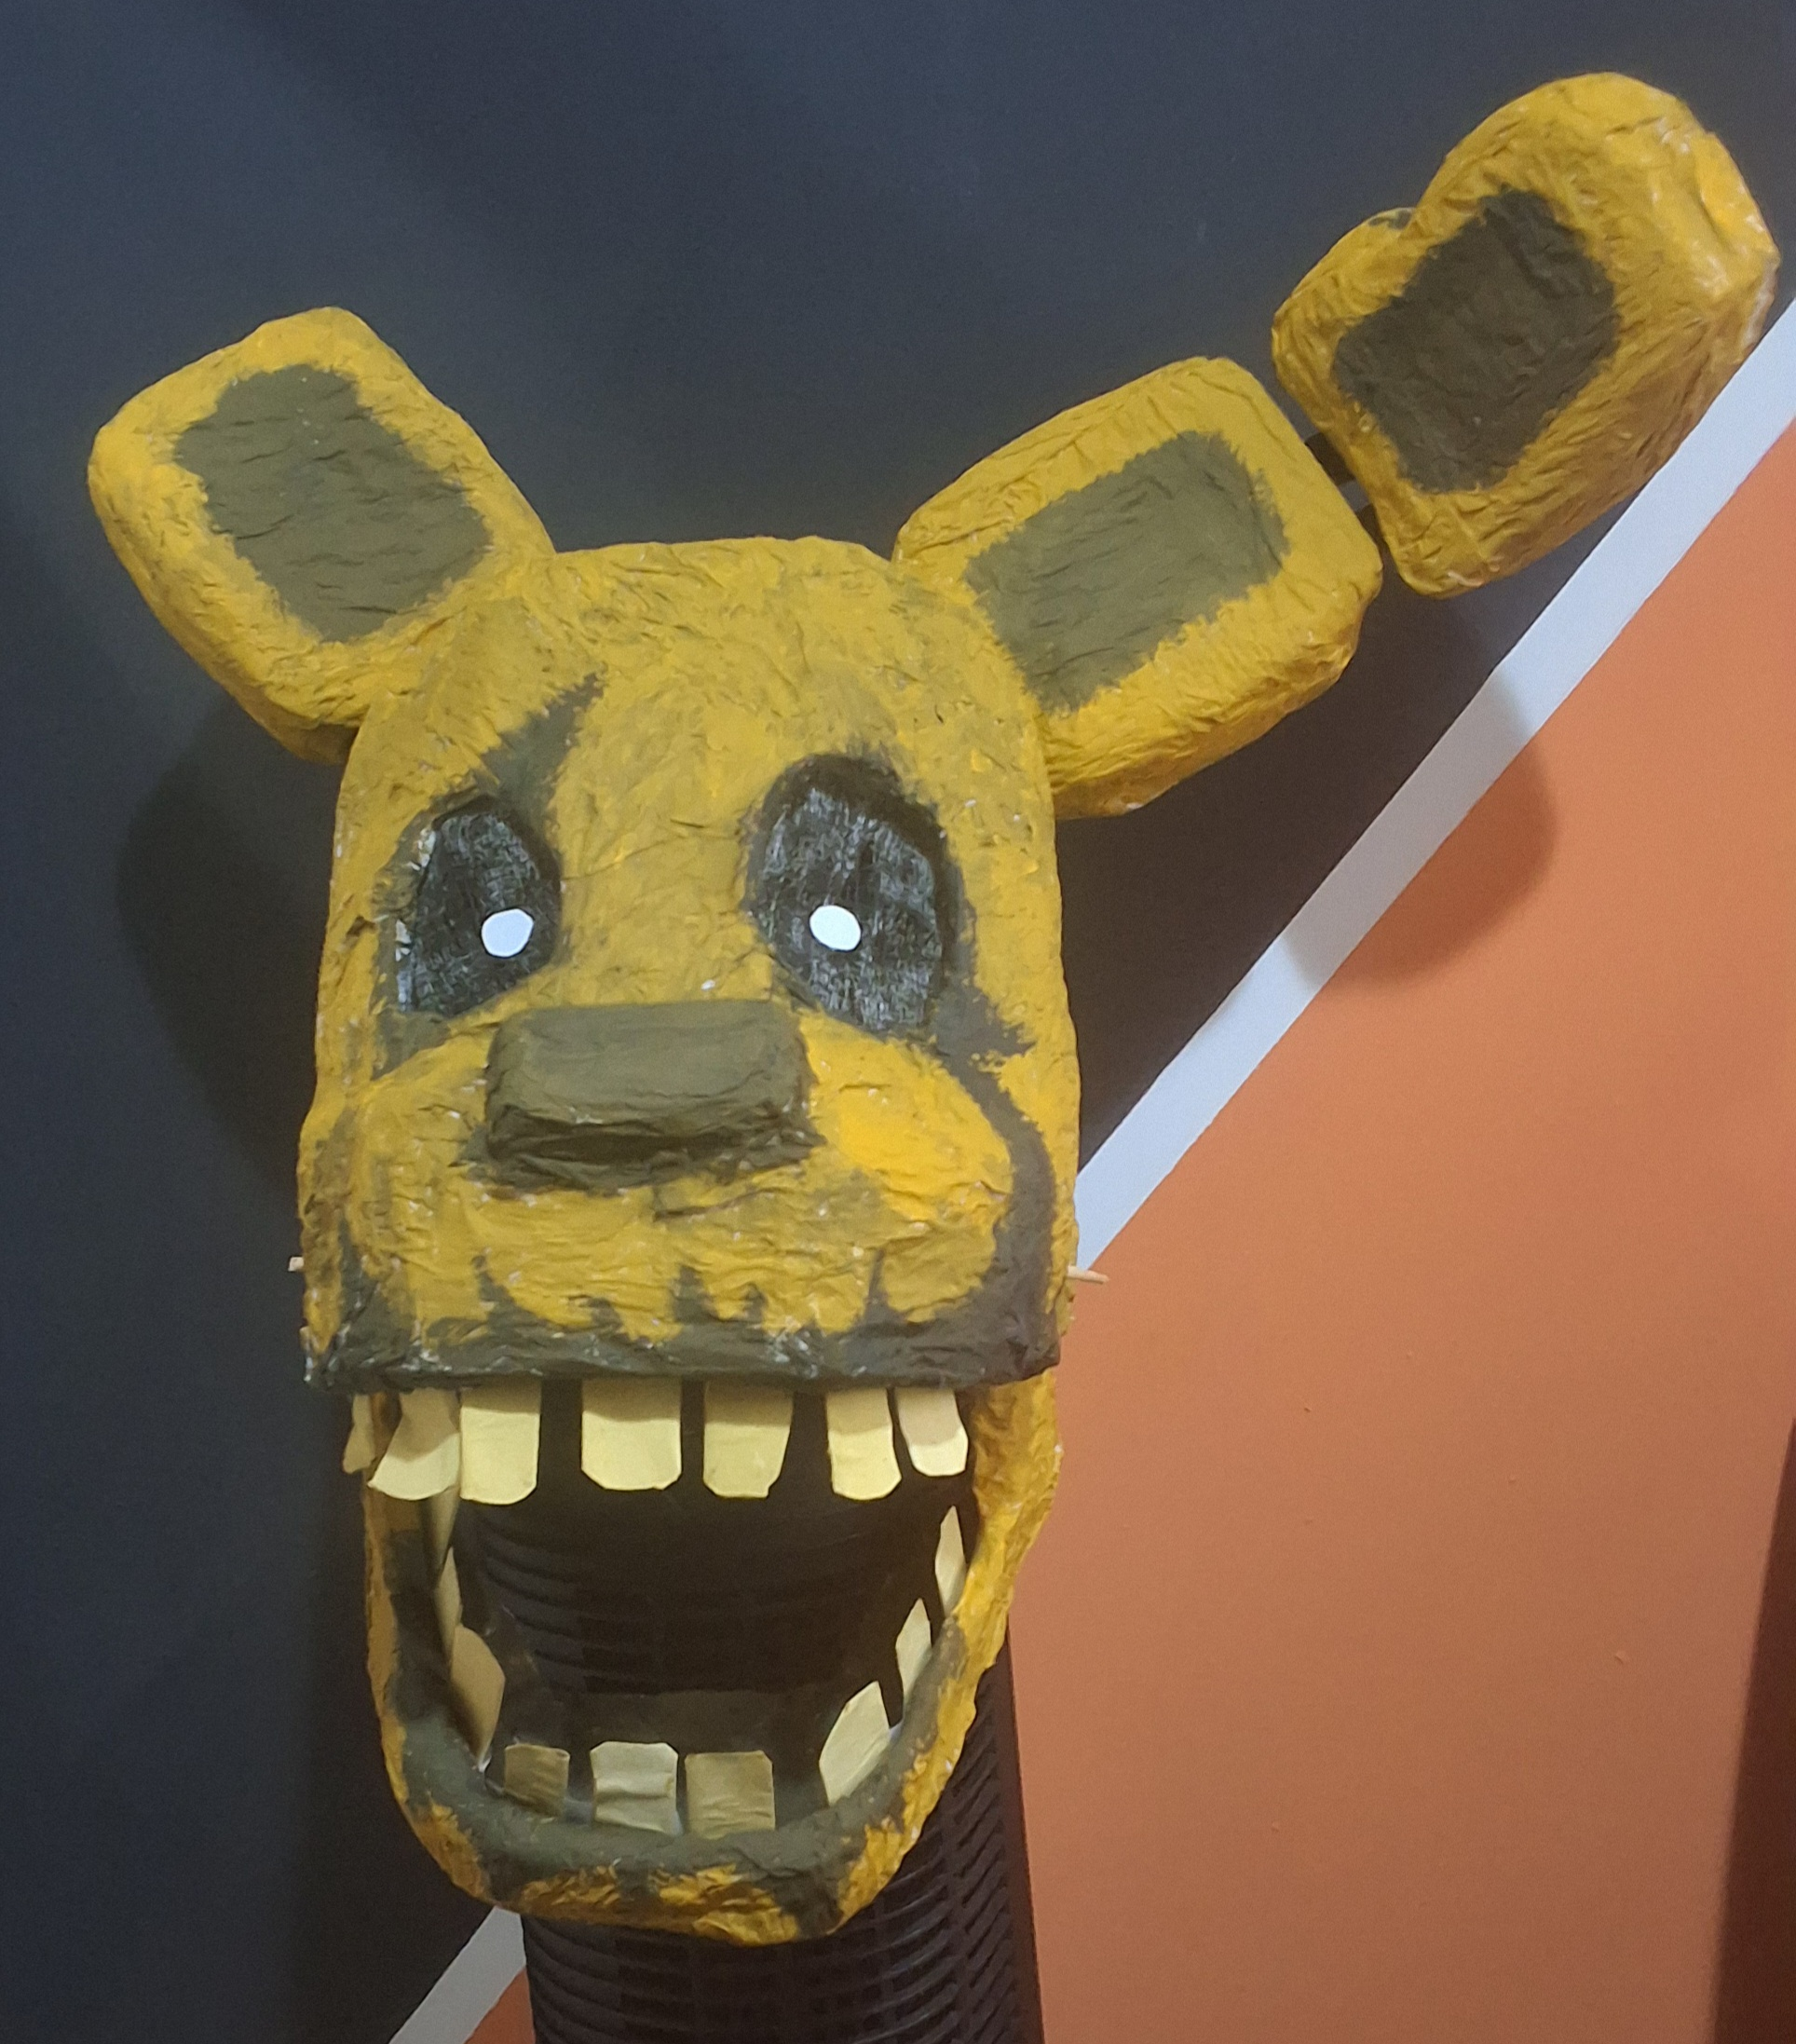
After drying it was painted with pva paint and some notebook paper white circles were glued in the eye sockets, made out of painted gauze (which turned out to be thin enough to see reasonably well!).
Overall a lot of things went wrong but not wrong enough to be too disappointing. Some areas had the paper strips be too thin so they ripped apart when painted, the jaw hinge sticks kept falling off as I didn't secure them because I might need to separate the jaw for repairs, the eye sockets ended up kind of wonky, the ears ended up really heavy and the popsicle sticks make it hurt to wear, the bunch of white spots from places I couldn't reach with my brush.. so on and so forth.
But still! This was fun and I really enjoy how cool it looks!
Wayne keychain
[13/apr/2023]


The Wayne Keychain! Complete with the faux leather look, even! (which is actually a result of the clay drying out while I was nitpicking the proportions)
Had a 'blast' going crazy over his body proportions which still turned out to be a bit too small and a bit too blocky as well but not enough to bother me, it's fine (in retrospect, I don't think it would've looked better with a larger body..). The moon shape was also surprisingly hard to not make it look awfully lopsided.
Used the same watercolor dough coloring as I did with the green lizard, which resulted in the same problems lol. I also had to yank the keychain hole thingy out and fill the hole with superglue because the dough wasn't strong enough.


I also intended to make the rest of the cast (pictured: somsnosa's hat from hylics 2, from april 05 2023) but they just have too many breakable parts. And just getting this hat right was a pain.. I don't think i'd be skilled enough to make soms' face either

Their body fell off in april 09, 2024. They lasted almost a whole year hanging from my college backpack! The toothpick that held them together and the weak glue from the porcelain weren't quite enough.. rest in pieces king
Green lizard and sleeping slugcat | Rain World
[27/feb/2023]


This one was painful.. Due to how hard it is to have precise shapes with the dough, I had to basically glue the legs onto the body and the paws onto the legs and constantly add water to the gluing points to make sure it.. didn't look like I glued them here haha.
I also colored the dough separately instead of having to paint over it since the greenie is literally two colors, but trying to mix the acrylic paint with the dough was not really working, so I did the next best thing - leftover watercolor pencils.
How are they better though? Because cold porcelain is dissolvable by water, it means the watercolor pigments reacted really well with it, and I could just rinse it off my hands (unlike harshly scrubbing the acrylic ones out because I didn't have gloves).
The thing is, as I've said, that to sculpt the glued parts into one thing... requires water. Because water reacts with the dough's glue. So it kept getting black colored water everywhere, and almost staining the green parts when I wasn't paying attention. But it worked! And the colors are really vibrant compared to my acrylics.
The zigzag mouth was done with a pizza-cuter-like tool that's part of a childhood playdough set, and the frills were just cut up with scrissors... they don't look the best. Should have been longer but ah well. Both were coated with transparent nail polish (don't make the same mistake I did.)
Axel | Rain World
[04/jan/2022]


This one really taught me how much it sucks to paint the sculptures. The rainbow parts were painted with gel pens because I could not get pastel colors like this with acrylics. The frills also ended up being too fragile, as since then they fell and some of the head and tail ones broke off.
The 'spear' they're holding is actually a broken piece of a plastic fork. Also coated with nail polish, which too taught me to - if it's all I have to use - then to be careful with the amount, because it's actually slightly yellow tinted and ended up tinting the whole sculpture because I put too much.
Xyz | Transformice
[14/aug/2021]


My first sculpture!.. Can you tell?
I didn't actually post pics of it finished outside of the cameo with axel, so the first 4 are from 2024.. it's been getting dusty like all the other ones.
I don't remember how hard it was to make, but the mane sure was annoying as hell to paint and glue together, as was the tail tip. They look wonky.. the head is too big. His neck must be jacked by now given how weird the pose is.
Alas, much was learned with this guy about sculpting with cold porcelain, so even if he turned out like this I got something from it.
Painted with acrylic paint.